Building Your Own Social Media w/ 🔥 Firebase 🏰
 InternetRamen
At the end of this jam, we'll create a social media app that handles users and posts. We'll be using Firebase SDKs to help us with user authentication and data storage.
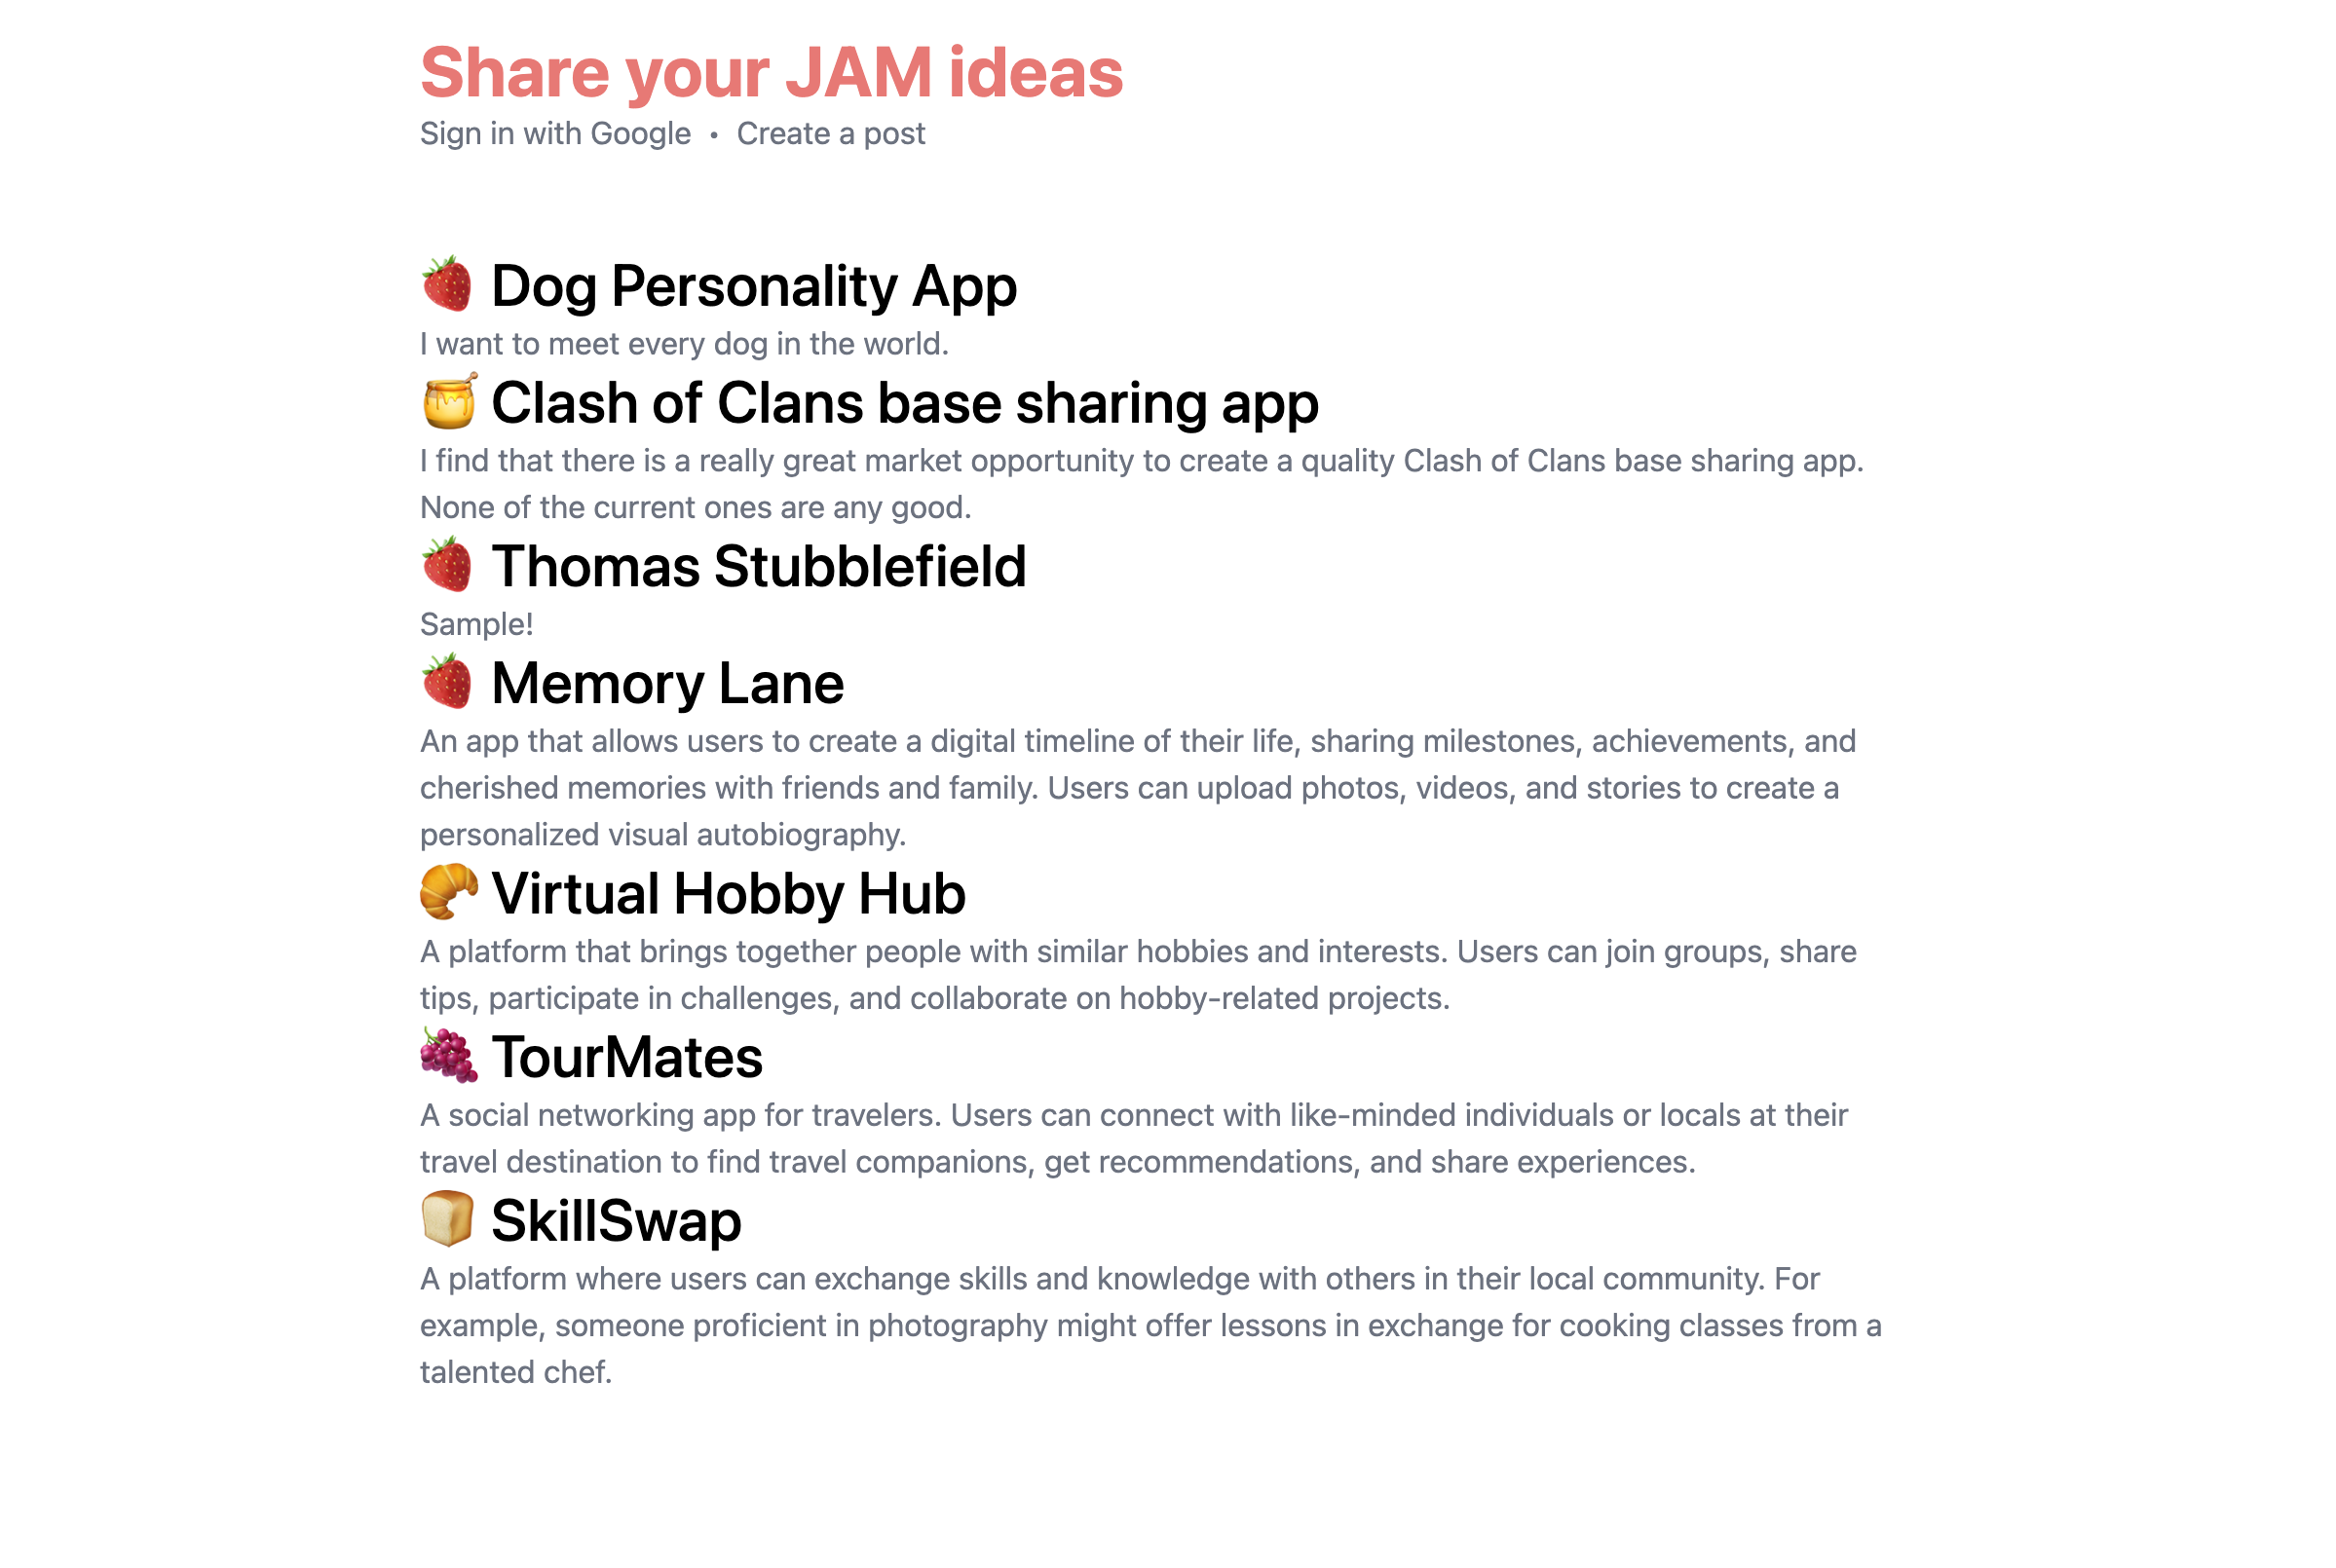
Here's a demo of something you could build:
Pre-requisites
Ideally, you have a basic understanding of HTML, CSS, and JavaScript, but if this is your first jam, feel free to ask for help!
Brainstorming
The foundation of any social media app is creating and loading some sort of post. Think of any popular social media (Instagram, Reddit, YouTube, or even a recipe app). Share your ideas with the club!
Setting up
Please fork/clone this Repl.it boilerplate to get started! We'll go over the files in a sec.
index.html
login.html
These are the two pages we'll be using for our app. index.html is the home page where we'll load all the posts and login, and create.html is the page where users can create posts.
On each page, we have a basic HTML boilerplate with script and style tags. Conventionally, you'd have these in other files and link them to the HTML file, but for simplicity, we'll just keep them in the same file.
Creating a Firebase account
Head over to Firebase Console and log in with Google. Once you're in, create a new project and name it whatever you want.
Then, click and enable Authentication and Firestore Database.
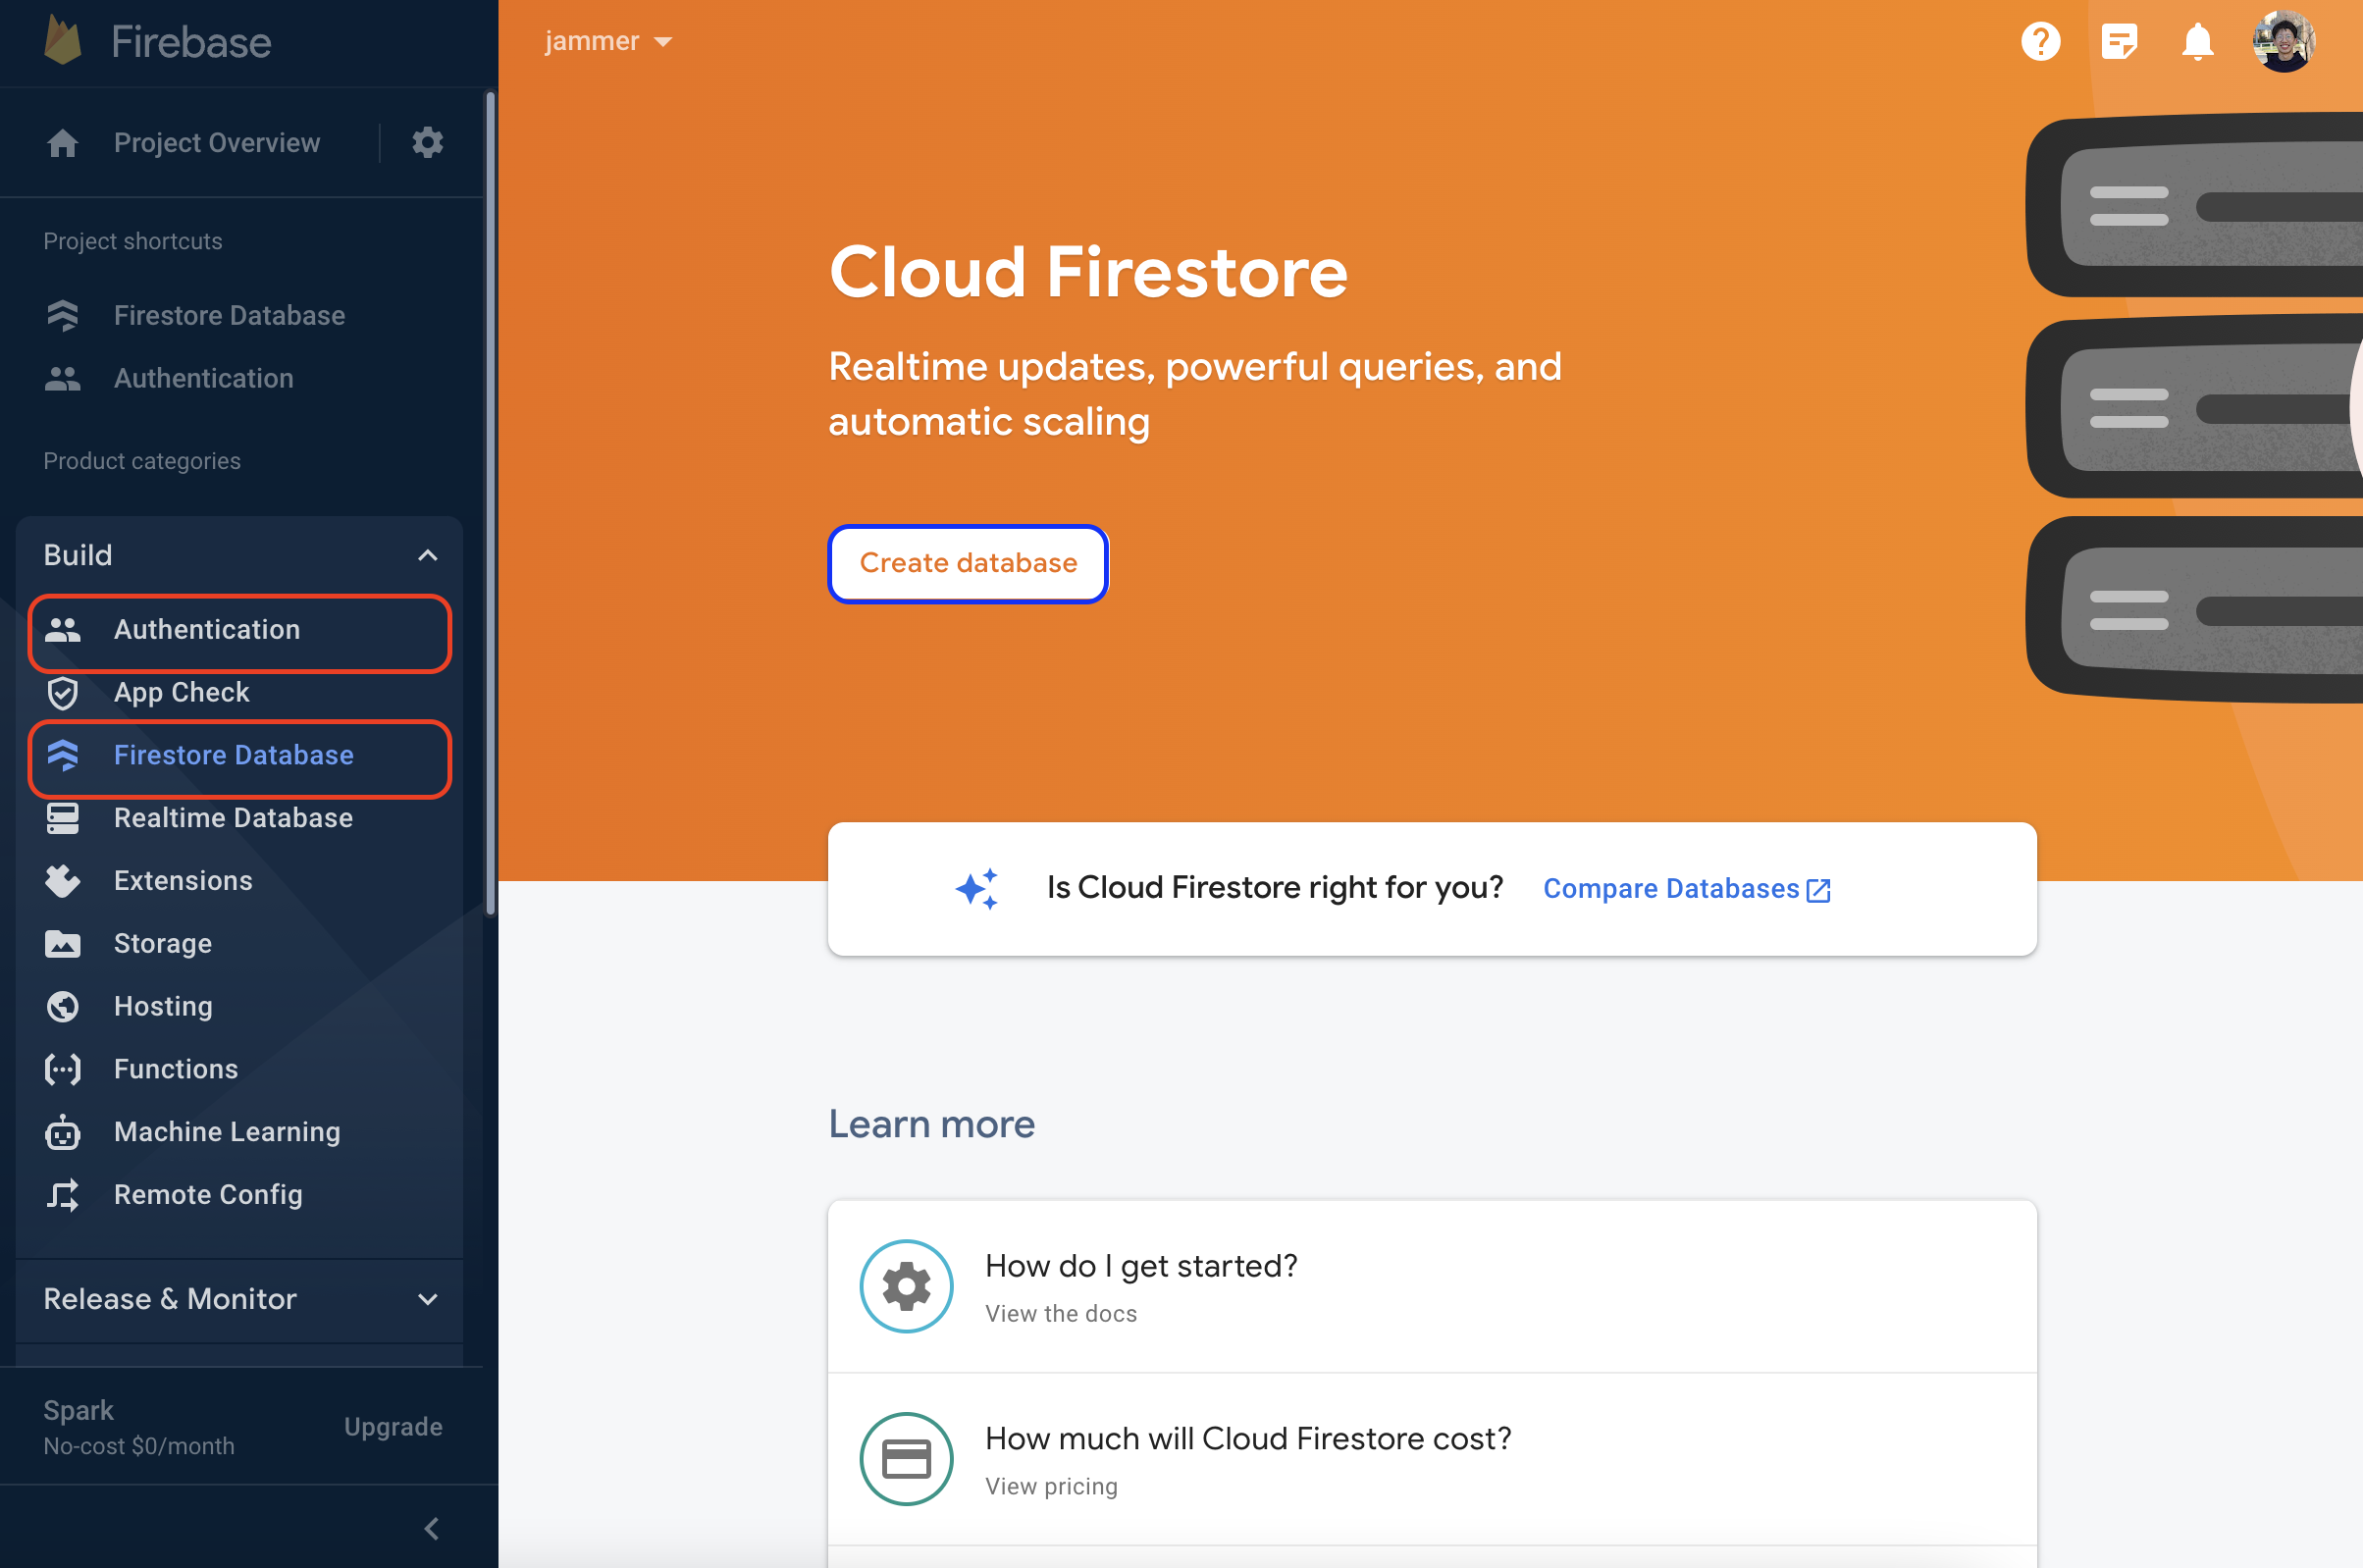
Authentication
- Click
Get Started - Click
Sign-in methodand enableGoogle - Enable and save
If you're using Replit, add your domain by going into Settings > Authorized Domains and add your project's domain. If you don't add the domain (localhost is already added), the authentication pop-up will close instantly.
Firestore
- Click
Start in test mode - Click
Nextand choosenam5as the location
Creating an app in Firebase
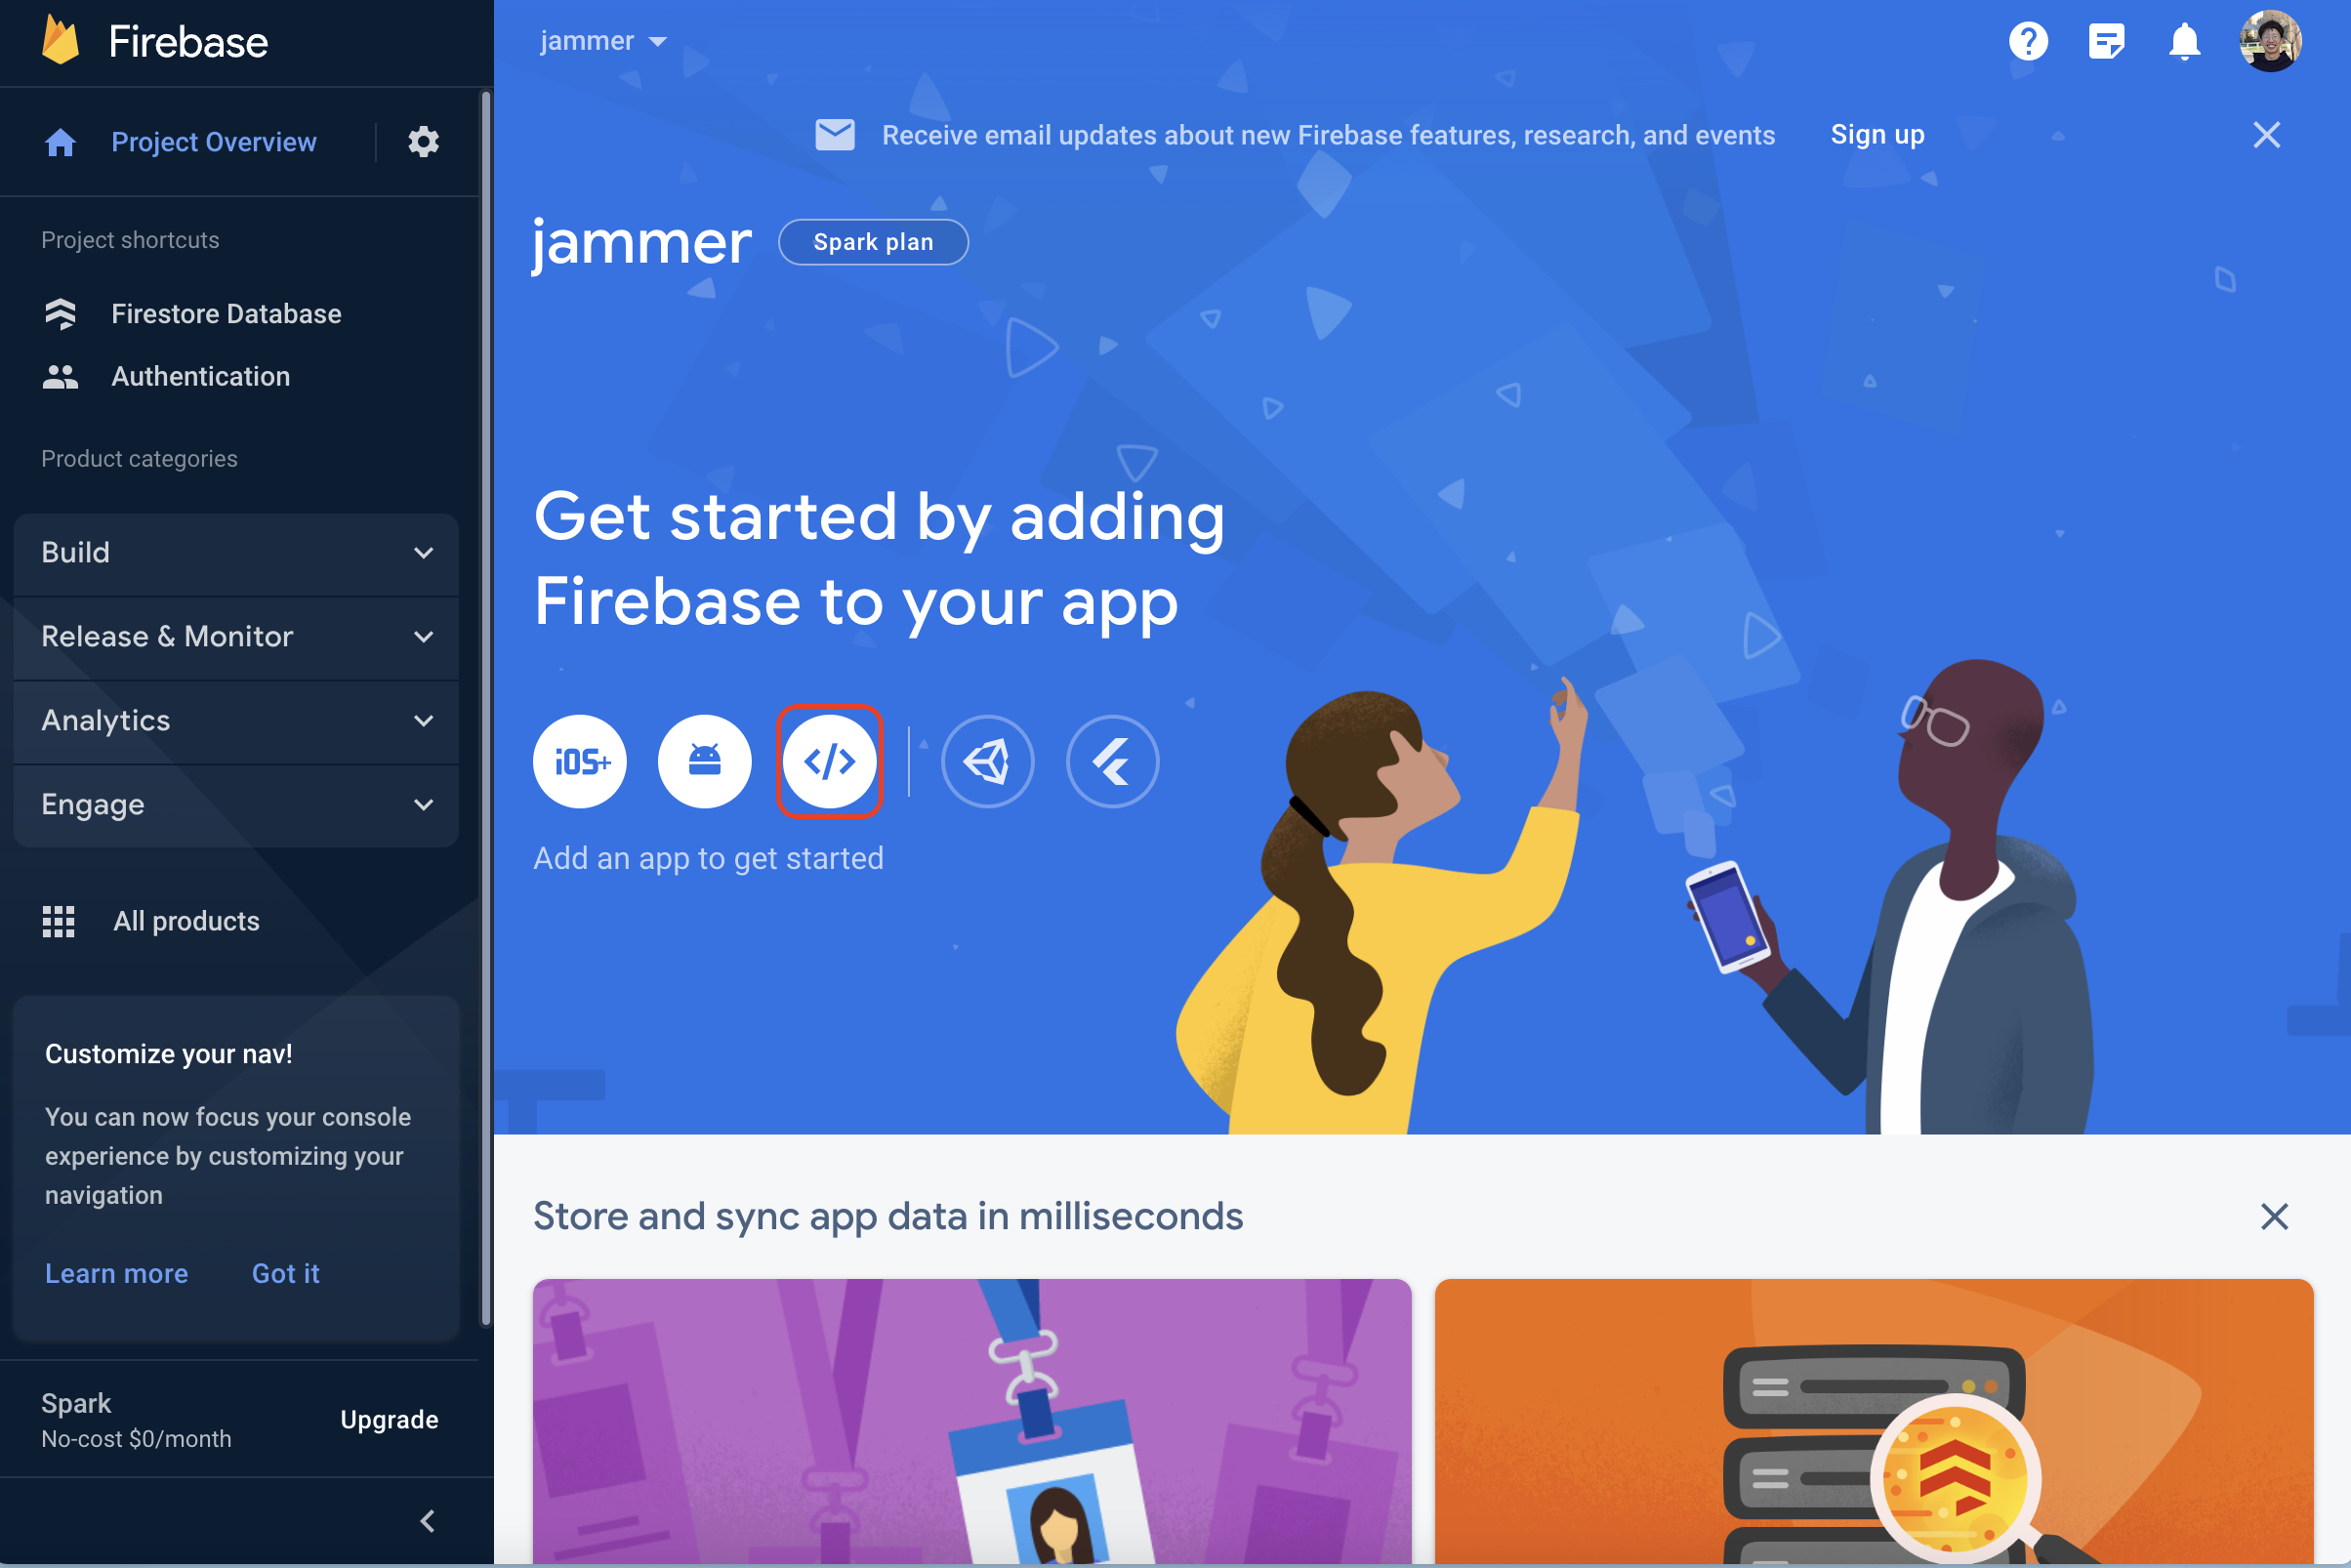
- Click the
</>icon - Name your app anything
- Click
Use a <script> tag - Keep this code snippet on hand, we'll need it later
Here is what the code snippet looks like and what each line does:
<script type="module">
    import { initializeApp } from "https://www.gstatic.com/firebasejs/10.0.0/firebase-app.js"; // imports the initializeApp function from the Firebase SDK
    const firebaseConfig = {
        apiKey: "AIzaSyBdD6AmLOxx0b7MPc9FggPMYpttLq-XEE4",
        authDomain: "jammer-7b6da.firebaseapp.com",
        projectId: "jammer-7b6da",
        storageBucket: "jammer-7b6da.appspot.com",
        messagingSenderId: "789182152948",
        appId: "1:789182152948:web:380ac8c7beb26882569ea1",
    }; // specific details unique to your web app. This lets Firebase know that you want to access your services and not someone else's
    const app = initializeApp(firebaseConfig); // load the Firebase app
</script>
Use your own code snippet! This code snippet won't work for you.
Logging in

Head over to index.html. Firebase makes it super easy to add user authentication to your app. We'll be using Google Sign-In, but you can use any of the other methods Firebase provides.
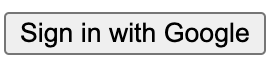
First, create a button with Sign in with Google. We'll use the id login to add an event listener.
<button id="login">Sign in with Google</button>
Firebase gives us a really useful signInWithPopup and GoogleAuthProvider to handle user authentication.
First, add your Firebase code snippet from before to the script tag.
Then, import these Firebase functions. This lets us use pre-written functions in our code. Specifically, we want to use getAuth to load the authentication, signInWithPopup to prompt the user with a popup to log in, and GoogleAuthProvider to tell Firebase that we want to use Google.
import {
    getAuth,
    signInWithPopup,
    GoogleAuthProvider,
} from "https://www.gstatic.com/firebasejs/10.0.0/firebase-auth.js";
Initialize getAuth and the GoogleAuthProvider.
const auth = getAuth();
const provider = new GoogleAuthProvider();
Now, we can add an event listener to the login button. Try making it so that when the user clicks the button, we call signInWithPopup.
 Test it out! You should receive a prompt to login. Need help?
Creating a post

Head over to create.html. This is where we'll let users create posts. I'll have to leave these fields up to you, but I'll give you a starting point. Please add fields that are relevant to your idea!
From now on, your code will depend on the idea you came up with. For me, I'm going with your average dog personality-sharing app.
First, create a form for users to enter their information.
<form id="form">
    <input id="name" type="text" placeholder="Name" />
    <input id="description" type="text" placeholder="Description" />
    <button type="submit">Submit</button>
</form>
The fields name and description can be anything you want. Add fields that make sense for your app! For example, a recipe app may have an estimated time to make, and a club directory app may have meeting times.
This is just a basic form with 2 inputs and a submit button. Adding IDs to each input allows us to access the values on submit. Adding an ID to the form allows us to add an event listener to it.
To add these fields to the database, we have to import some new packages! First, add the Firebase code snippet from before to the <script>. Then, import both the authentication functions from before and the getFirestore, setDoc, and doc functions from Firestore as follows.
import {
    getAuth,
    signInWithPopup,
    GoogleAuthProvider,
} from "https://www.gstatic.com/firebasejs/10.0.0/firebase-auth.js";
import {
    getFirestore,
    addDoc,
    doc,
} from "https://www.gstatic.com/firebasejs/10.0.0/firebase-firestore.js";
Importing getFirestore, addDoc, and doc allows us to load Firestore, add documents to the database, and reference a document in the database, respectively.
Load each package.
const auth = getAuth();
const db = getFirestore();
Then, access the form element, and add an event listener to listen for form submissions.
form.addEventListener("submit", (e) => {
    e.preventDefault();
});
By default, forms will refresh the page on submit. We don't want this because we won't be able to execute code if the page is refreshing, so we'll add e.preventDefault() to prevent the page from refreshing.
We don't want just anyone to add posts, just users! So, we'll add a check to see if the user is logged in. If they are, we'll add the post to the database. If not, we'll alert them to log in.
Add the following after the e.preventDefault().
If I can get the current user by using auth.currentUser, how would I check if there is no current user?
auth.currentUser lets us access the current user. If there is no current user, the variable will be null, so we can alert the user and not add anything. return will stop the function from executing any more code.
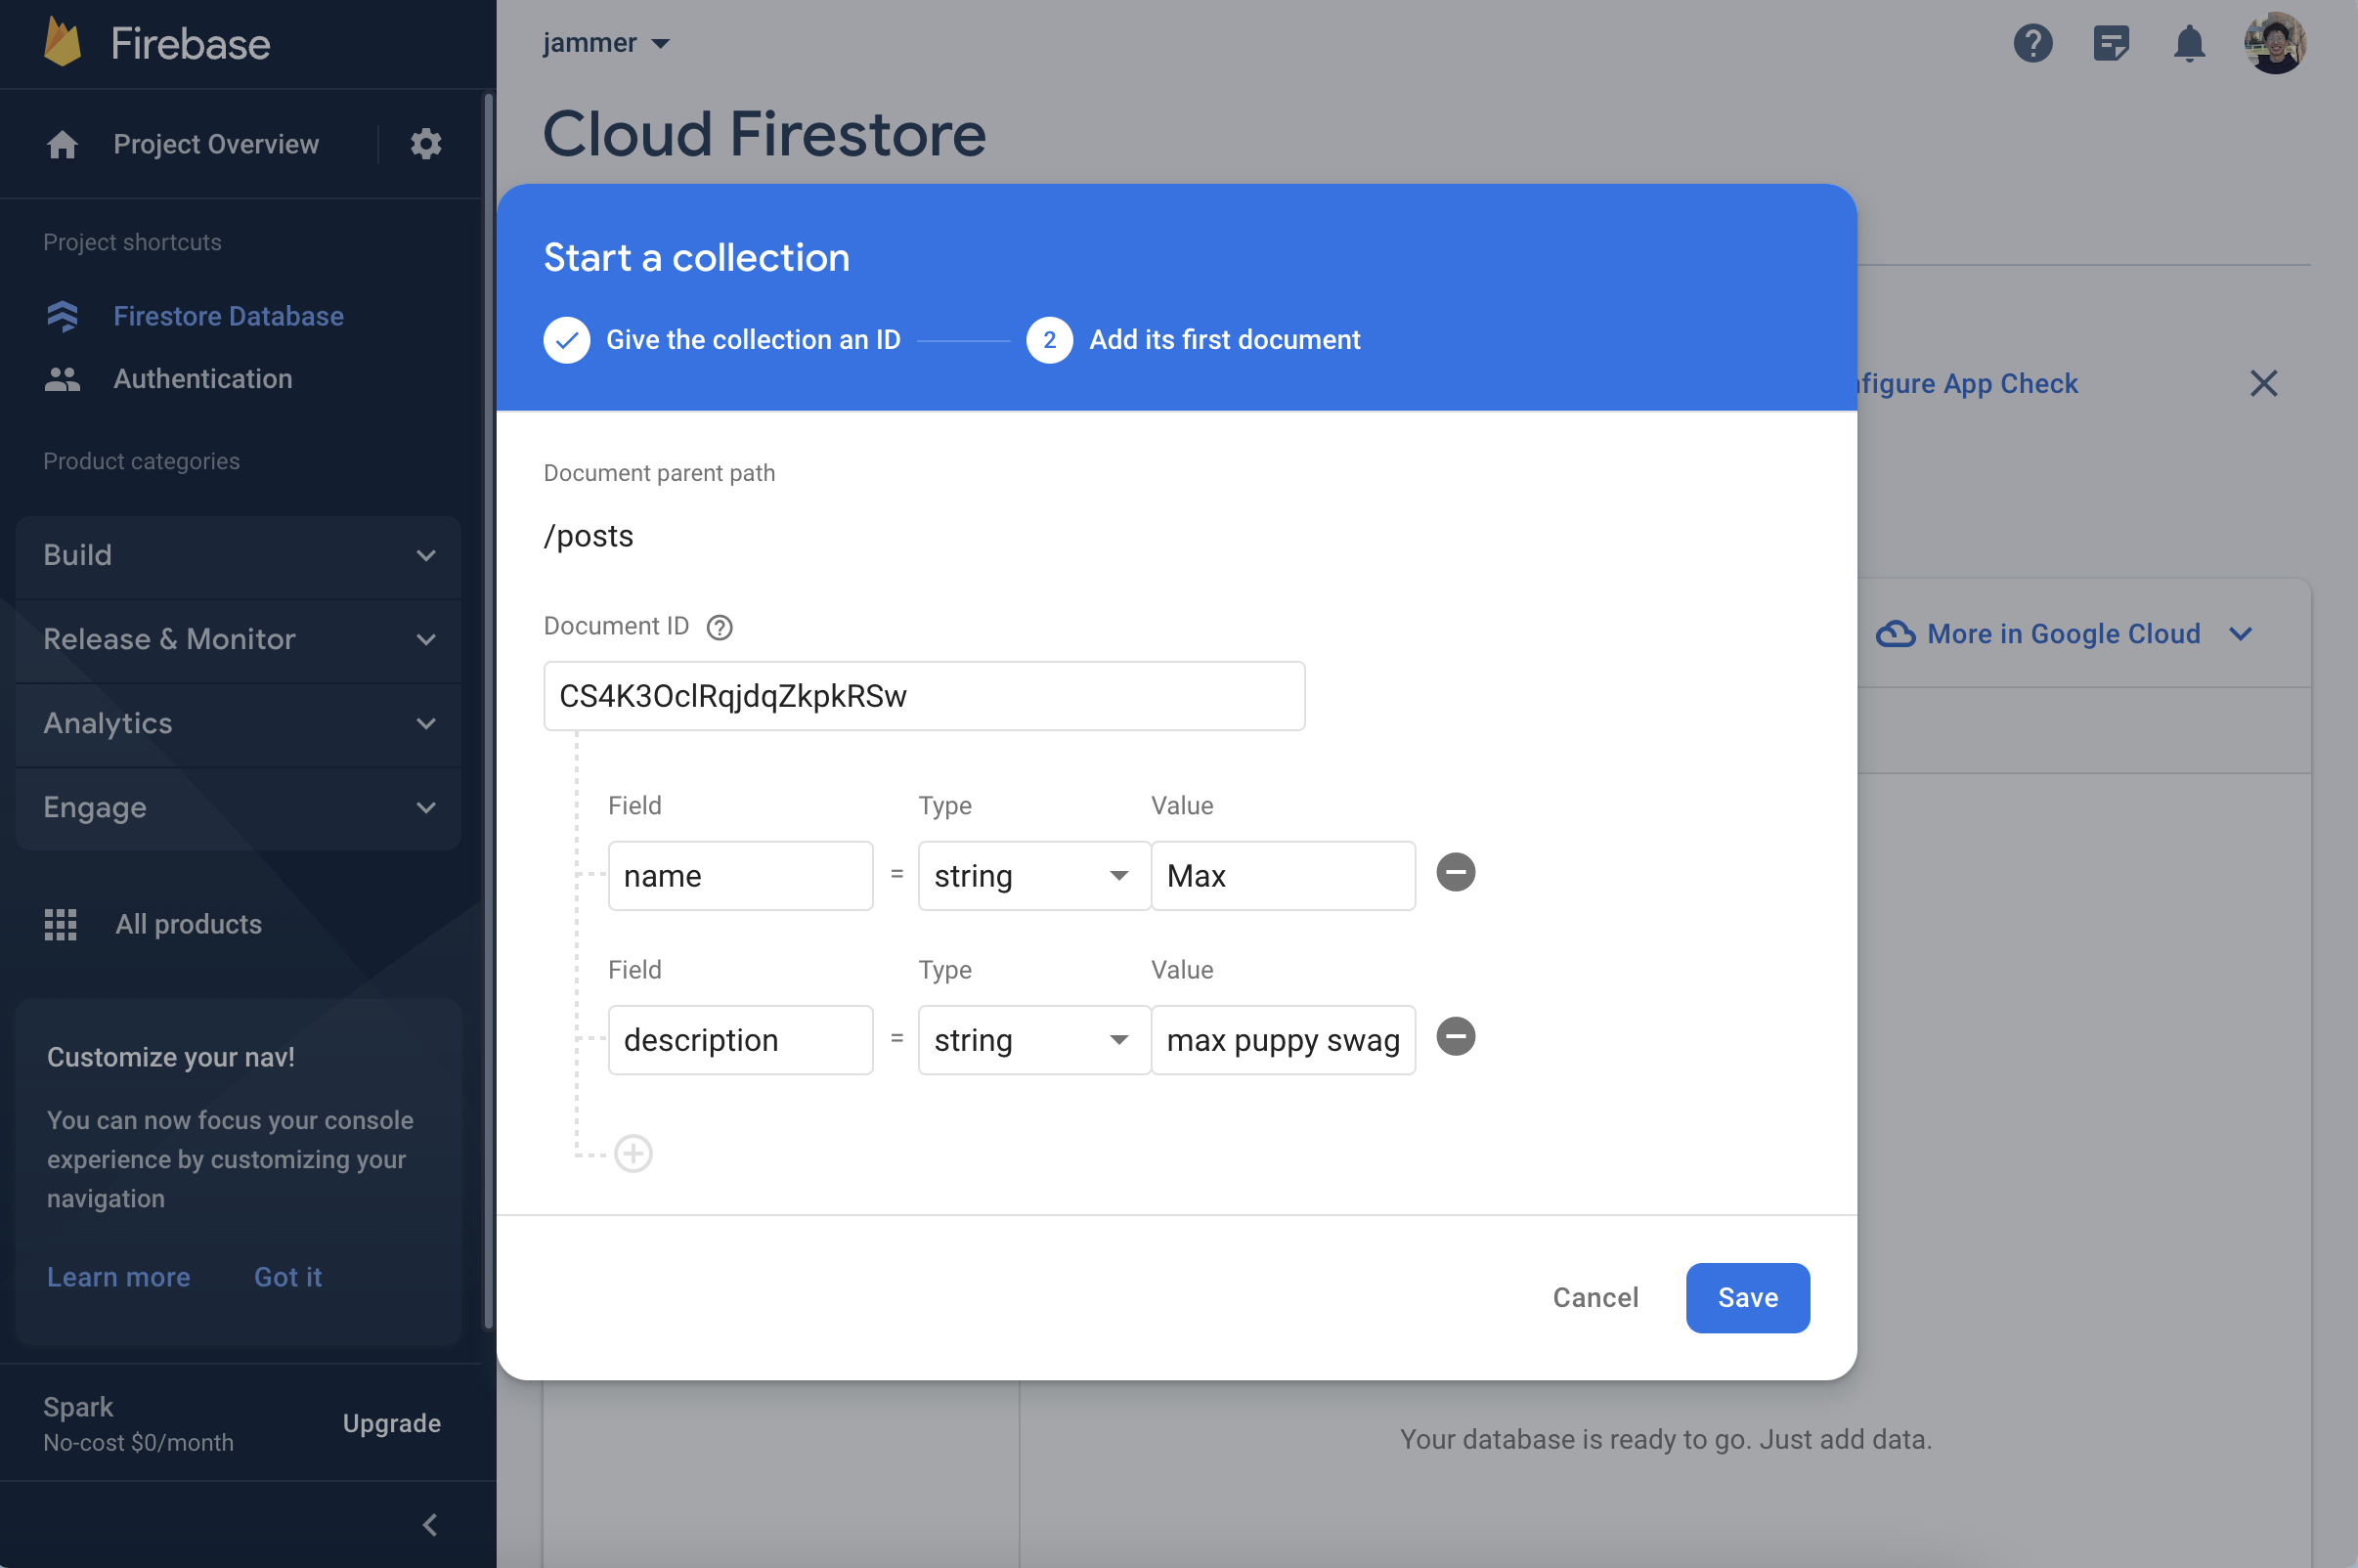
Then, create a collection in Firestore. A collection holds all your documents. It's like a bucket for all your data.

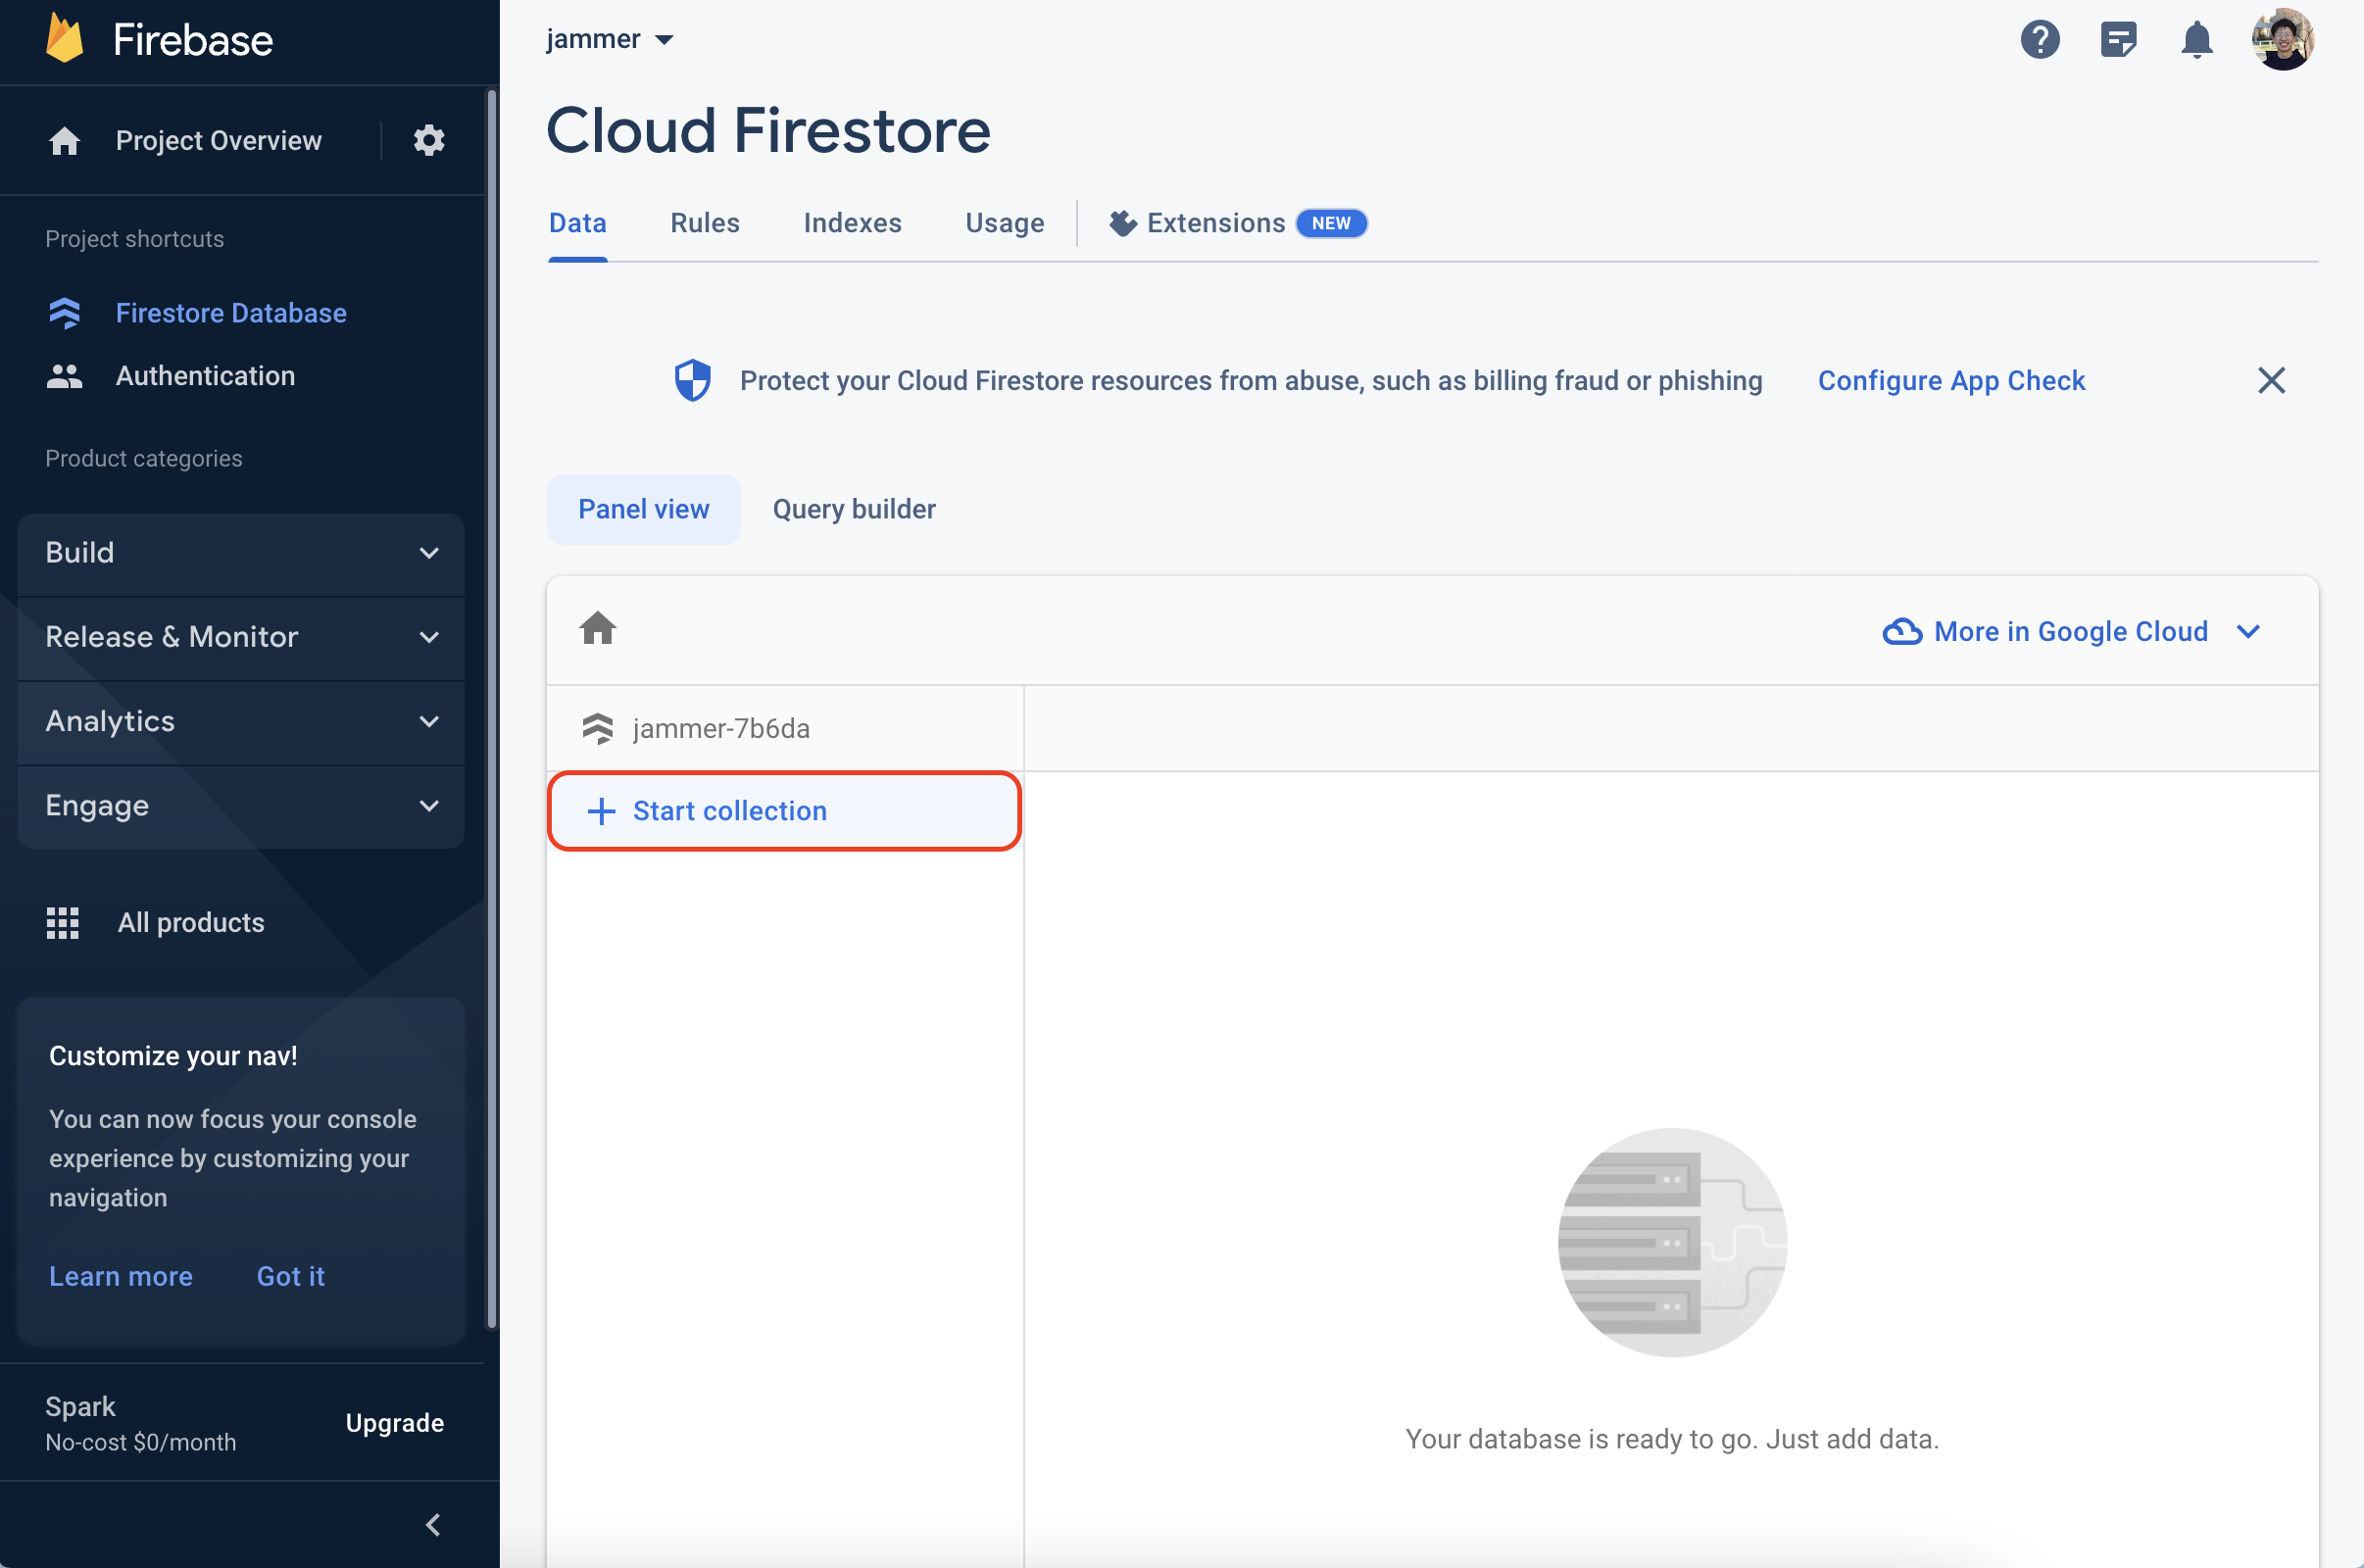
Choose a collection name that makes sense for your app! It doesn't have to be posts if that doesn't make sense. Maybe something like recipes or clubs would make more sense for your idea
When you're prompted to create the first document, add sample data for the fields you've already created above. You can just click auto-ID for the document ID.
For example, in my case I'll add name and description.
Now, we can access the values of each input and add them to the database. We'll use addDoc to add a document to the database. addDoc takes in 2 parameters: the reference to the collection and the data to add. We'll use collection to reference the collection we want to add to, name.value to get the value of the first input, and description.value to get the value of the second input. We can also use currentUser.displayName to grab the name of the author to display.
const form = document.getElementById("form");
const name = document.getElementById("name");
const description = document.getElementById("description");
addDoc(collection(db, "posts"), {
    name: name.value,
    description: description.value,
    author: currentUser.displayName,
});
Your name and description variables will vary based on the fields you set. Be sure to change them to match this format: const <field> = document.getElementById("<field>"). Also, the key/values in the data we're adding will vary.
Finally, we'll let the user know that they've successfully submitted a post.
alert("Successfully submitted post!");
Loading posts
This is where it gets good. We'll be loading posts from the database and displaying them on the home page. Head over to index.html.
I'll leave this implementation up to you, but I'll give you some steps to get started.
After the code from the login, import the Firestore from before into the file.
// snippet

import {
    getFirestore,
    getDocs,
    collection,
} from "https://www.gstatic.com/firebasejs/10.0.0/firebase-firestore.js";
const db = getFirestore();
To create an element for each post, we'll need to get each post and run a function for each. We'll need getDocs. getDocs returns a Promise, and we can use await to turn that into a value, but we won't get into that in this jam (think of it as a black box).
Here's an example of how to use getDocs to get all the posts.
const posts = await getDocs(collection(db, "posts"));
Now, we can use .forEach to create elements.
That's it! Now you have a working social media app. It's your job to add CSS, more fields, and more features to make it your own.
Not-so-full list of customizations
- Change the styling
- Change how posts are loaded
- Change fields
- Add cosmetic elements
Congratulations! 🎉 🎉 🎉Share your final project with the community