Design Your Own Digital Store
 ryanchou-dev
Sample Figma Design Interactive Demo
Hacker! Are you awake? Hurry up; we have a boat to catch.
This is Part 1 of a two-part workshop on creating your very own store on the web! You'll design everything from the products you'll sell to the colors and feel of the website. At the end, you'll get a chance to pitch your design to the workshop hosts and compete for the title of Best Designer!
If your website looks like something you would make, you did a great job 🎉 Otherwise, go back and brainstorm ways to make your project ✨ unique ✨
Today, we'll be designing our website using Figma, a design tool to create functional and awesome user interfaces! If you're worried about code, don't worry. There isn't going to be any code yet, you'll have full artistic freedom after we explain Figma's features!
There are 6 important steps in this Jam! Feel free to backtrack and reference old points as you design your dream store!
Outline:
- Embark on your journey. (create your first Figma file)
- Open your inventory. (learn about the tools in your hot bar & Figma structure)
- Make your first painting. (create the landing page for your store)
- SO MANY DUPLICATES. (simplify repetitive elements with components)
- Make it ✨ Magical ✨ (connect your pages with interactions)
- Your next adventure awaits... (next steps)
Packed your things? Let's rock this.
Embark on your journey. 🛶
You made it to your home for the next hour. Time to set up camp.
Create an Account
Head over to figma.com and create an account! Afterwards, complete the onboarding portion of registration. Select the Free plan, and choose "Design with Figma" first.
You should be instantly booted into a new design file!
If you're working with a team, click the Share button in the top right and add your groupmates' emails with "Edit" permissions!
You're all set now! ≧(´▽`)≦
Open your inventory ⚒️
It speaks:
Okay! So, let's go over the structure of the Figma editor.
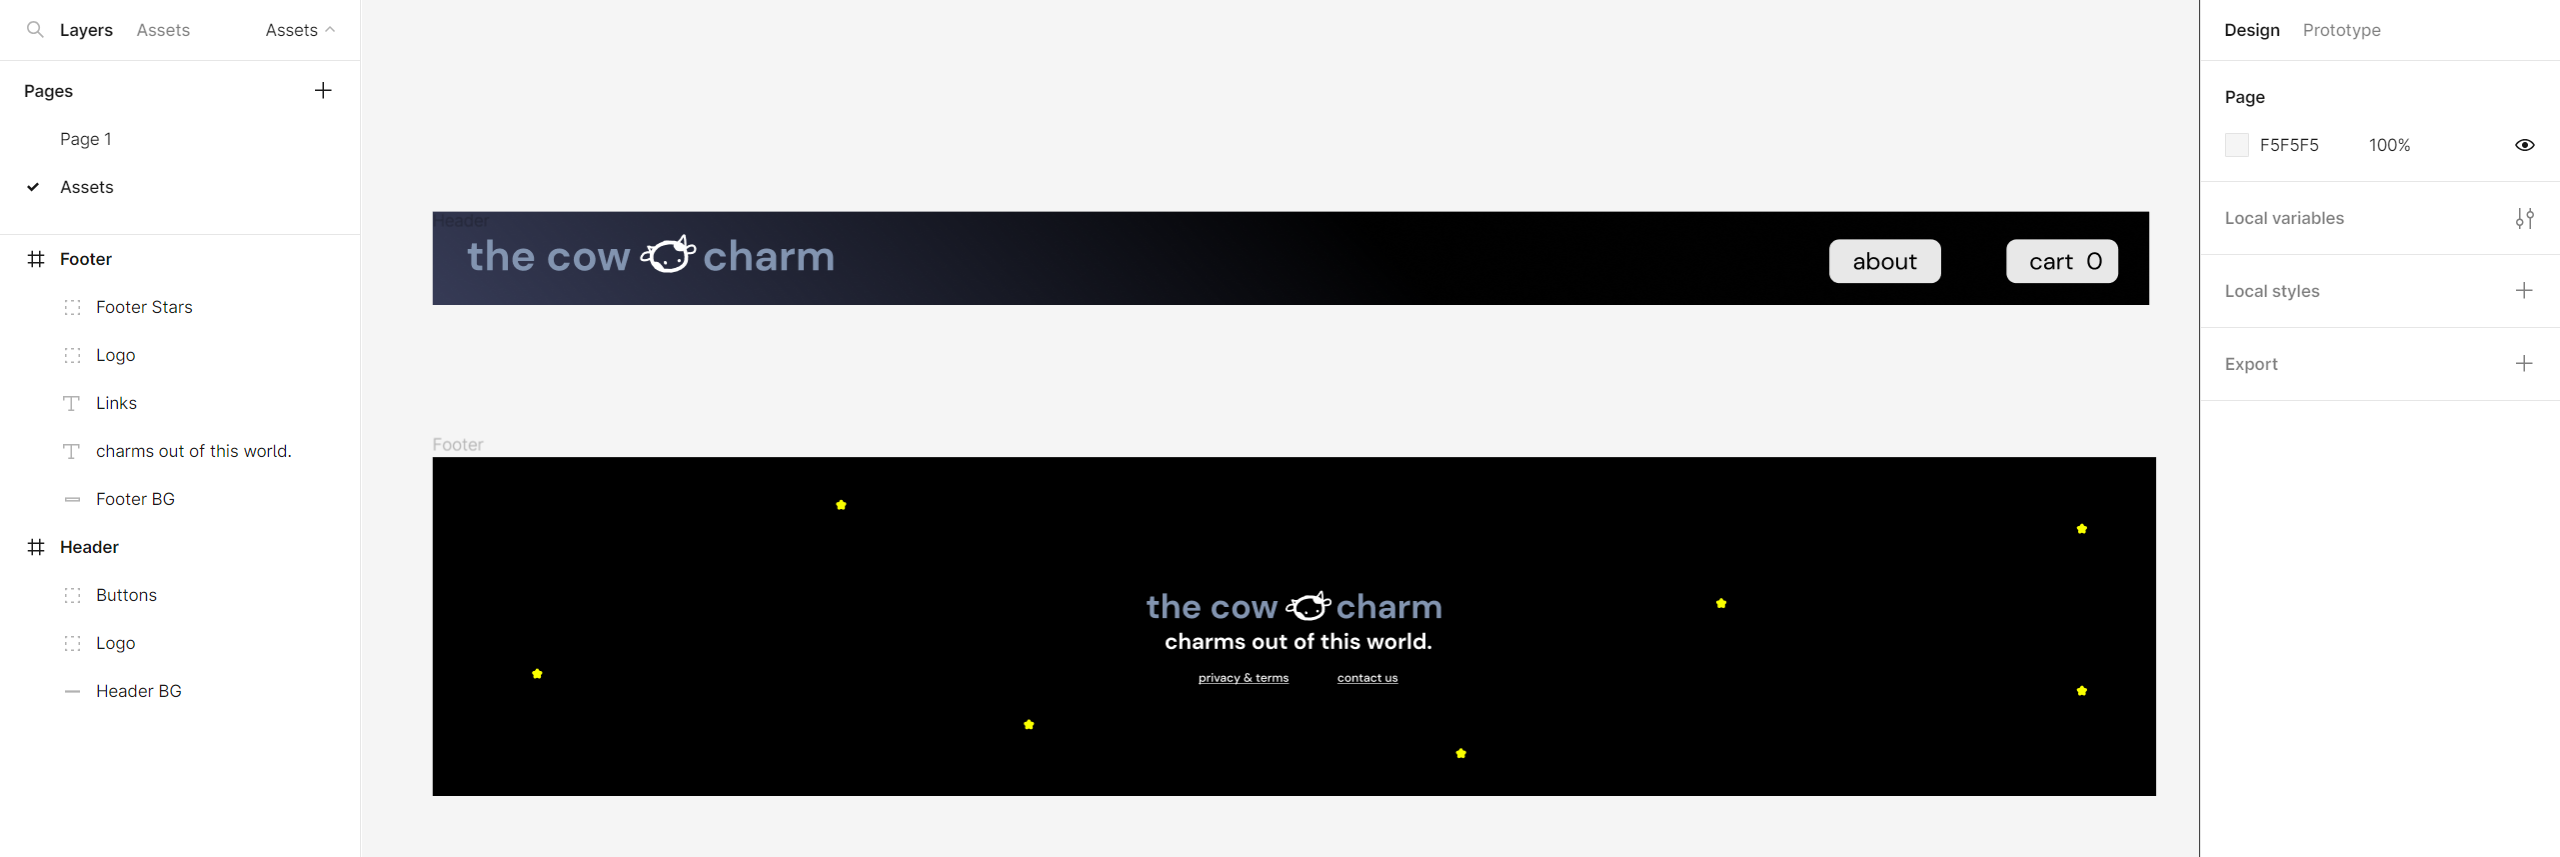
Left Sidebar
Here, you'll keep track of the current objects in your design (text, shapes, images), and be able to access assets & pages (we'll go over this later).

Toolbar
Situated at the top of your screen, this contains every tool you need to start designing, we'll break them down below :)).
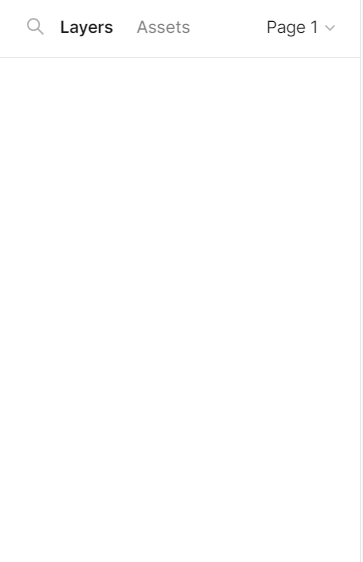
Right Sidebar
This section opens the properties of the currently selected layer or tool. You can edit attributes such as font size, stroke, etc., and prototype!
Figma relies on a layered system of groups. Think about it like you're stacking sheets on top of each other. Here are the main types of objects in Figma.
Frame
The foundational element for your designs is called a "frame"! It acts like a top-level container for your content. We normally set these to the dimensions of a target device to see what our design might look like on it.
Group
A group combines related objects together. This is a temporary union that helps reduce the number of layers that you have to work with as you design.
You can group a selection of layers together with Ctrl + G!

Layers
Layers are the building blocks in any Figma Design. They can be anything from images, vector objects, or text. Anytime you insert an image or create a rectangle, you're making a layer!
Let's have a quick rundown of the tools we'll be using in our design.
Your workshop host should have given you a cheat sheet for Figma's tools; this is your chance to read through it!
You can view the digital copy here
Phew! That was a lot of content. Like I said earlier, feel free to come back and review :D
Hacker, it's time to make your first piece of art.
Make your first painting. 🖼️
Before we start designing, we always should think about what we want to design!
Take this time to think about the name of your corporation and the products you might sell. Once you've got it, continue :D
Let's give your project an awesome name! Click into the area which says "Untitled" and give it a name of your choosing (you can change this at any time).

Next, we'll make a frame for the landing page of our website. We'll do this by clicking the hashtag-esque button on the navbar, and clicking Desktop > Macbook Pro 16" as our size.
Note that you can always extend the height of the frame as you need.
Can you believe it? You've created your first layer in Figma. 🎉
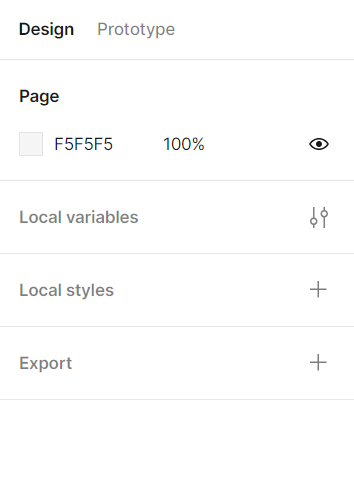
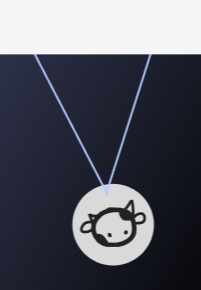
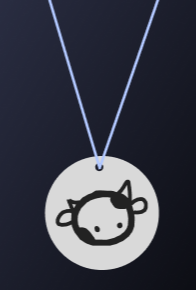
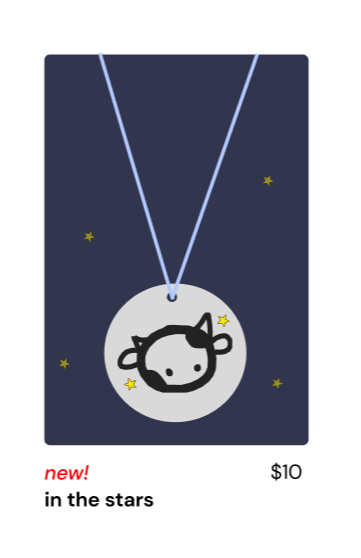
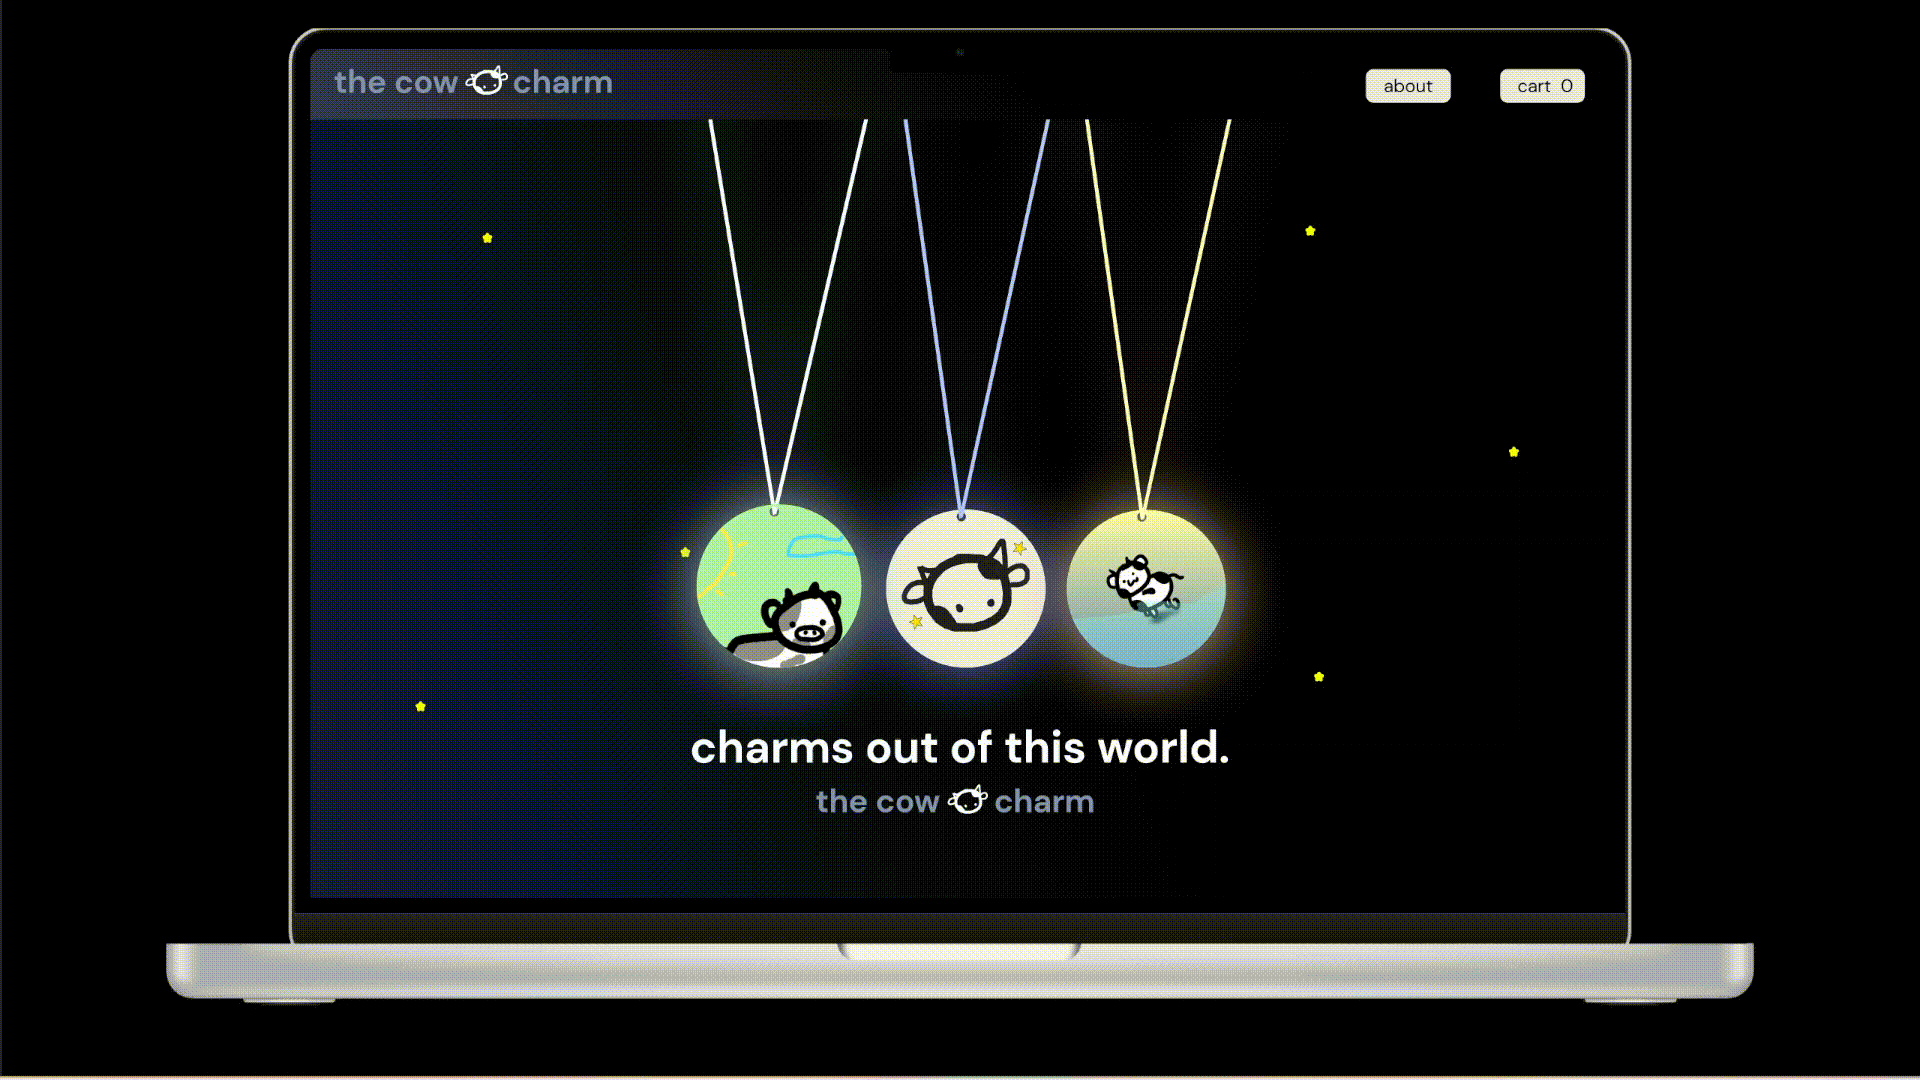
I really love cows. In fact, I love them so much I'd like to make a business selling cow charms. I want to name it something unique and original. I GOT IT!
~ the cow charm ~
Inside your frame, we'll create a text object! Once the tool is selected, click anywhere in your frame to create a text box. You may type whatever you'd like here.
wait a minute...
Quiz Time!
Let's try adding stars to our page. We can do this by selecting the Star Tool and placing them as we want. If a sharp grey star isn't what I want, I can choose the Fill Color and the Corner Radius in the layer's properties after selecting it. In fact, I can also change the number of angles and the size of each angle of the star. If you ever want to edit some property of an object, you always check the right sidebar!
Might there be some property to smite? Veer your eyes to the right.
Quiz Time!
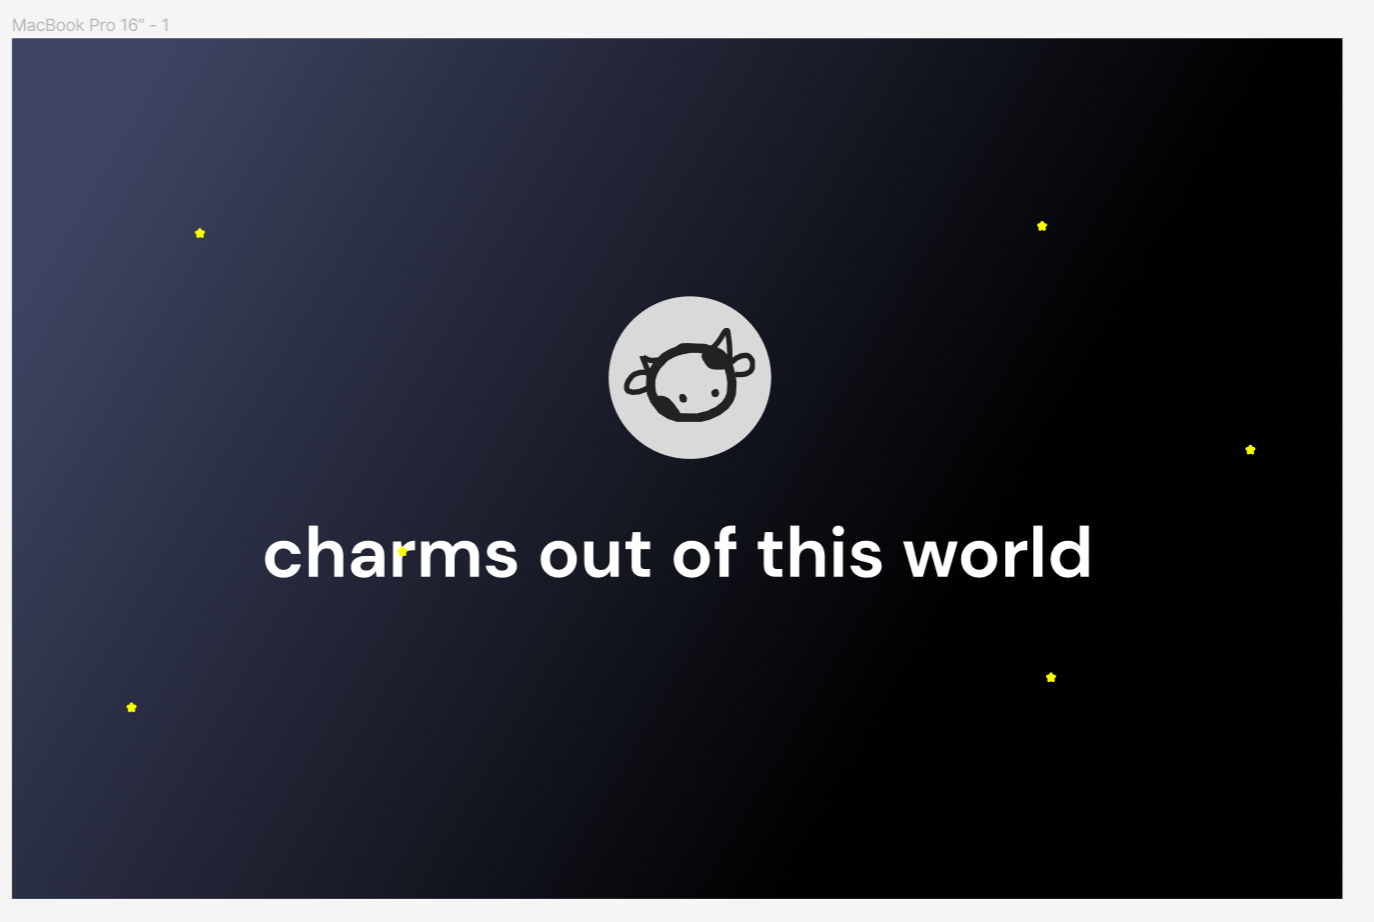
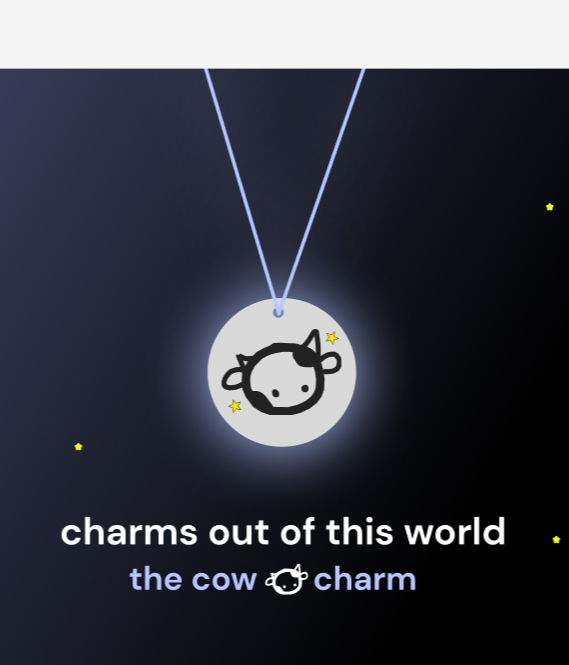
Now, I'll make the background black, text white, and change the color and size of the stars!
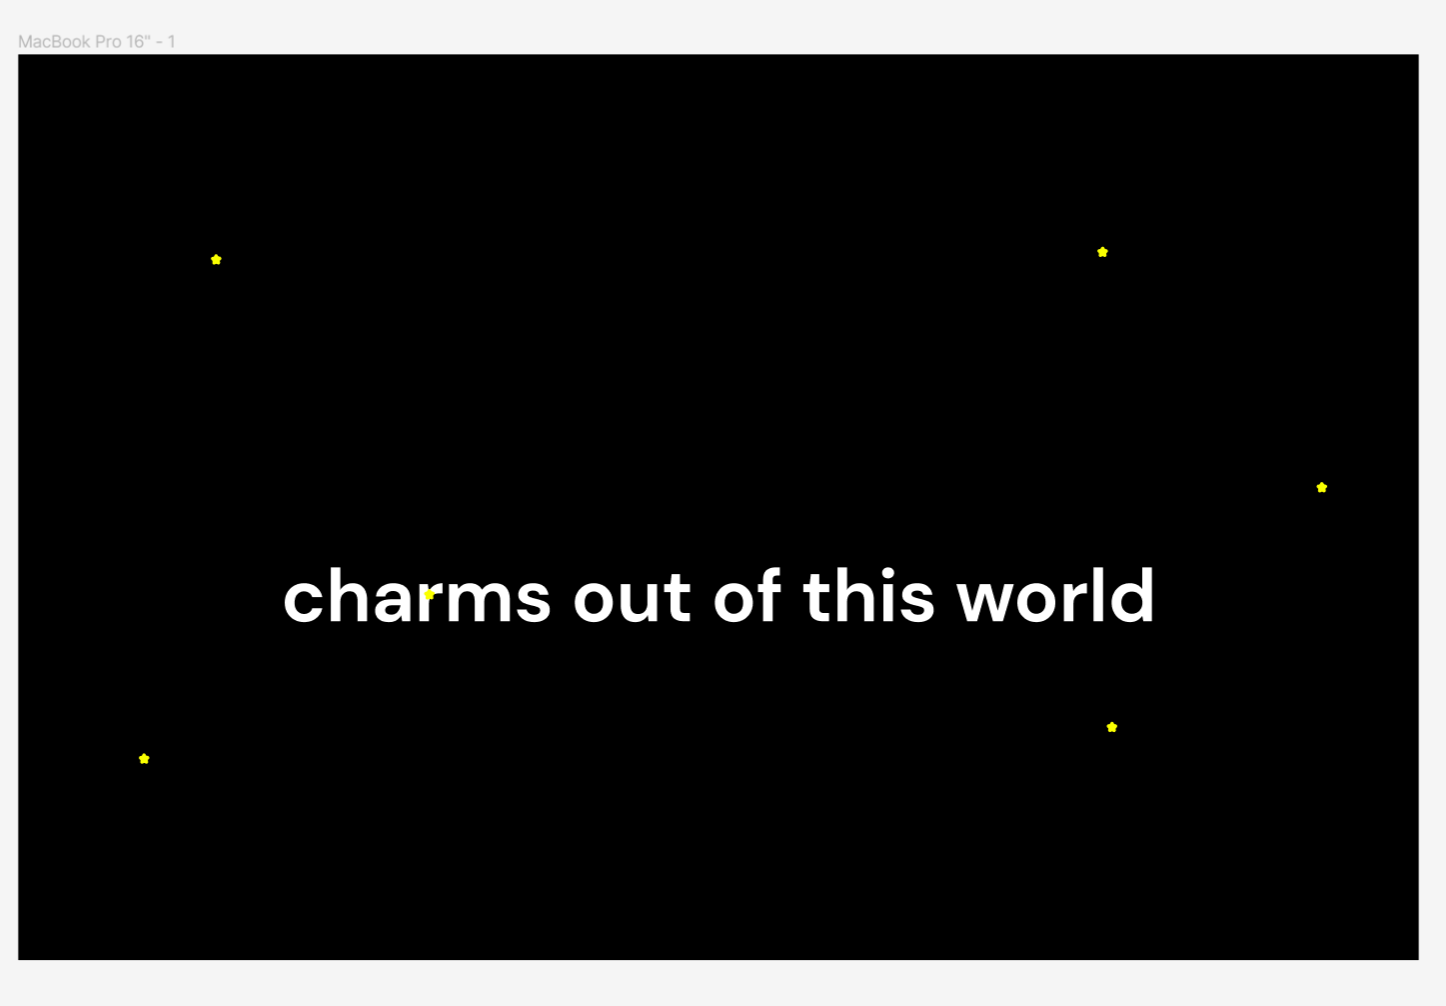
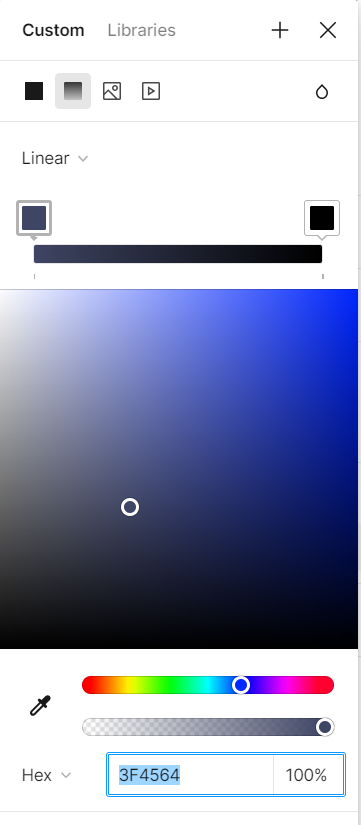
I want the background to resemble a dark sky with a bright moon, so I'll set it to a gradient with dark shades of purple. You can find the settings of the Fill Color.
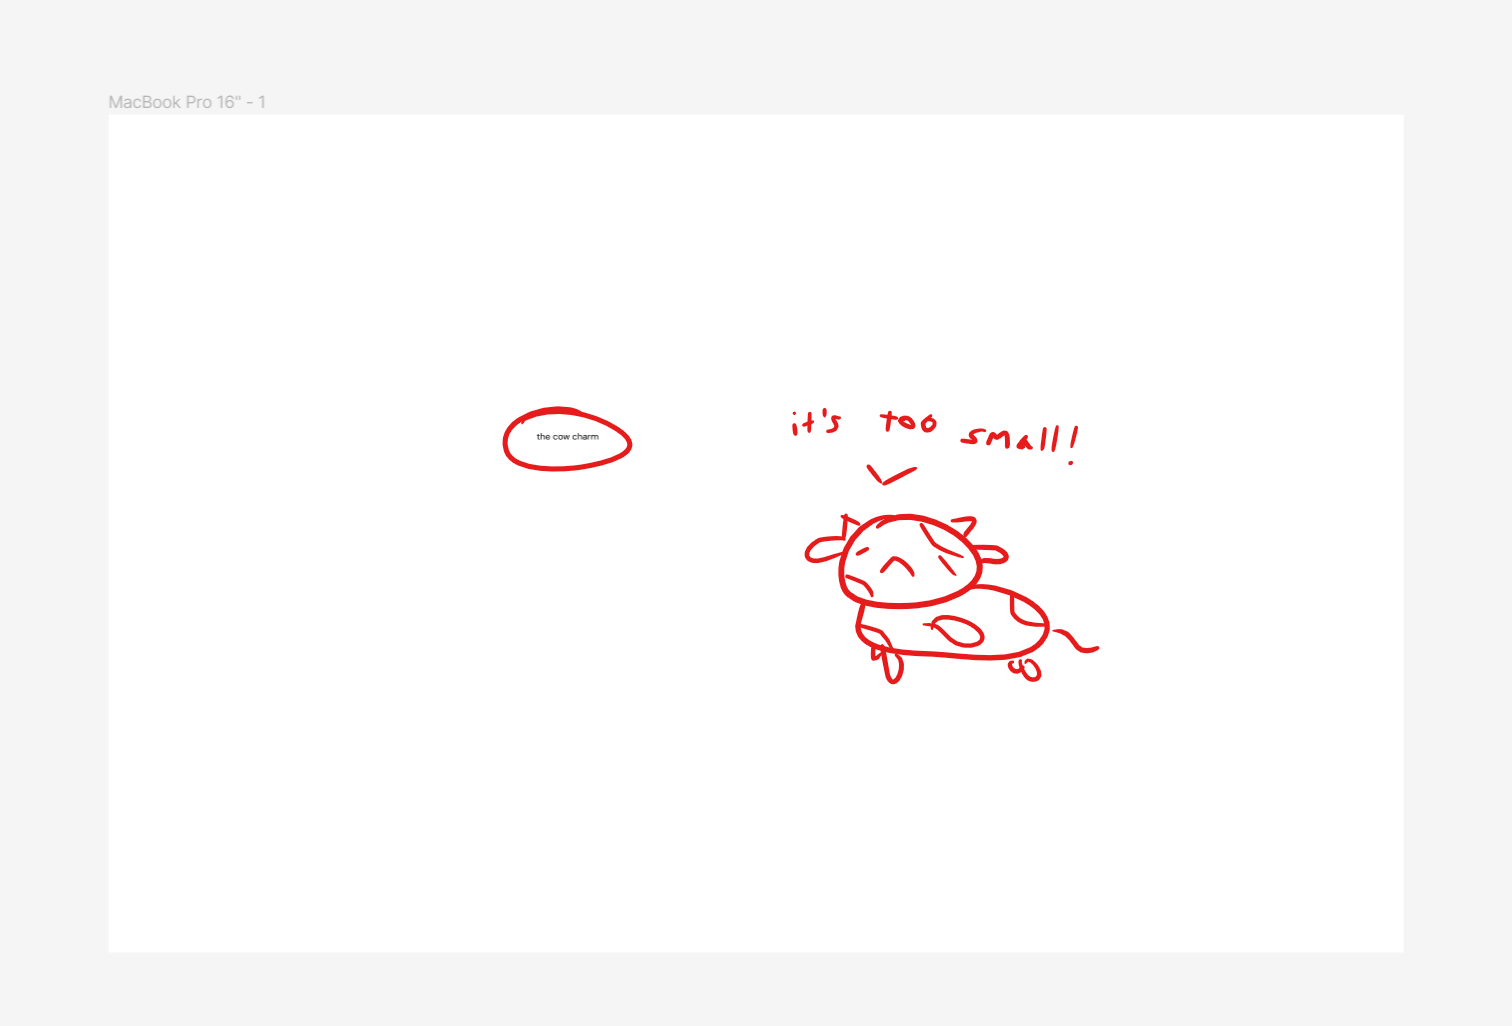
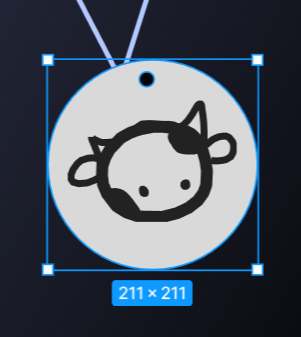
It's time to create the ✨ charm ✨! I'll make a Circle with the Ellipse Tool and import the images I want to use for the design.
It's starting to come together! It would be really awesome to have it drop down from the top of the screen, but I'm not sure how to create a string.
Quiz Time!
[!question]- What tool should I use to create the string? We have a lot of different choices, I could use the Line tool to make a simple straight string, or the Pen tool to create a more realistic, curvy, string.
I think I'll stick with the Line tool, thanks for your help!
This is cool, but something seems a bit off.
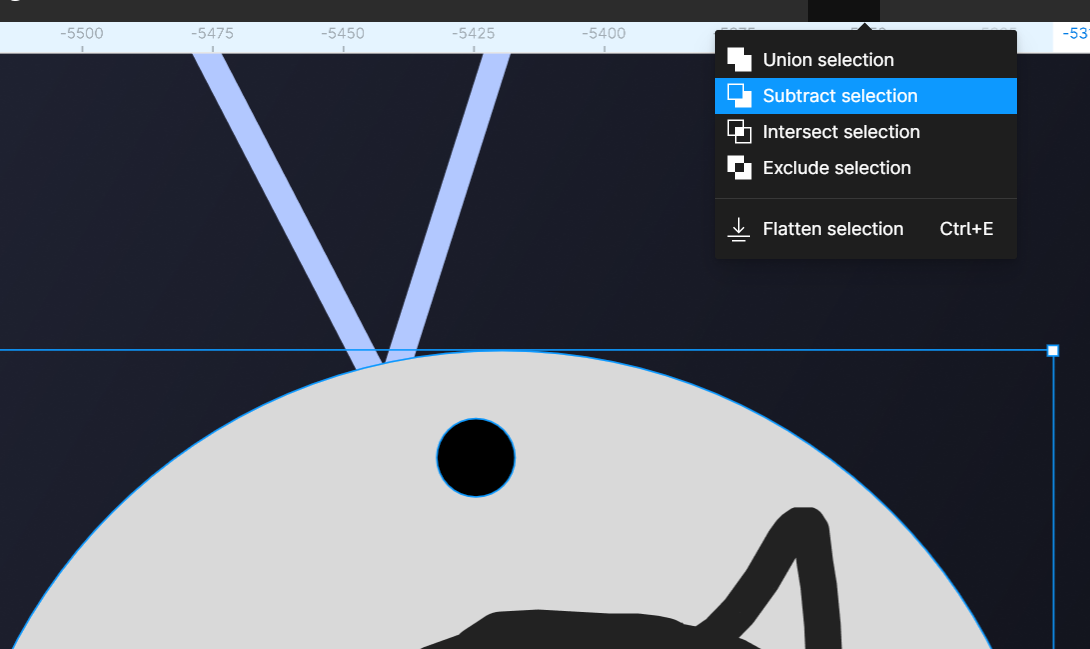
There isn't a hole for the string to go through!! It would be easy to just use another circle to indicate the hole, but the gradient background makes it hard to replicate.
If only, we could cut a hole in the circle...
WAIT NEVERMIND WE CAN YAYAYAYA
Let's first create a circle to designate the hole, and then select both the charm and the circle destined to be a hole on top of it.
At the top of your screen, you'll see an icon that looks like two overlapping rectangles; click that!
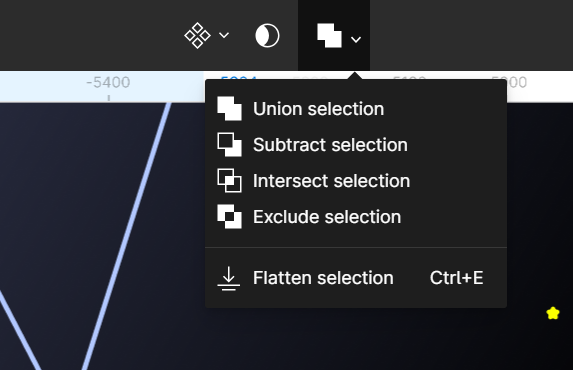
These are Figma's boolean operators!! 😍😍
You have four options:
- Union selection.
- Merges two layers together. If the objects overlap, then the shape's outline consists of it's sublayers, not including segments that overlap.
- Think of it as a bitwise OR operator —
A | B
- Subtract selection.
- Removes a layer's intersection (and itself!) from another layer. This is the opposite of a union.
- Think of it as
A & ~B.
- Intersect selection.
- Removes everything but the intersection between the two.
- Think of it as a bitwise AND operator —
A & B
- Exclude selection.
- Keeps everything except the intersection between the two.
- Think of it as a bitwise XOR operator —
A ^ B
[!question]- Which one do we need? The Subtract boolean operator! We want to remove the smaller circle from the larger one.
Awesome! Now we'll select both and perform that operation:
It's starting to look more and more like a charm!
Now, I'll add some decorations and drop shadow, and we'll have a completed element!
If I have multiple layers that I want to fit into a circle, I can use Figma's Mask tool!
 Here, I've created a new circle to use as the frame and selected all the layers I want to be inside of it!
This tool allows you to use a layer as a "cutout" for another, and we can even adjust it after masking!
Here's the result:

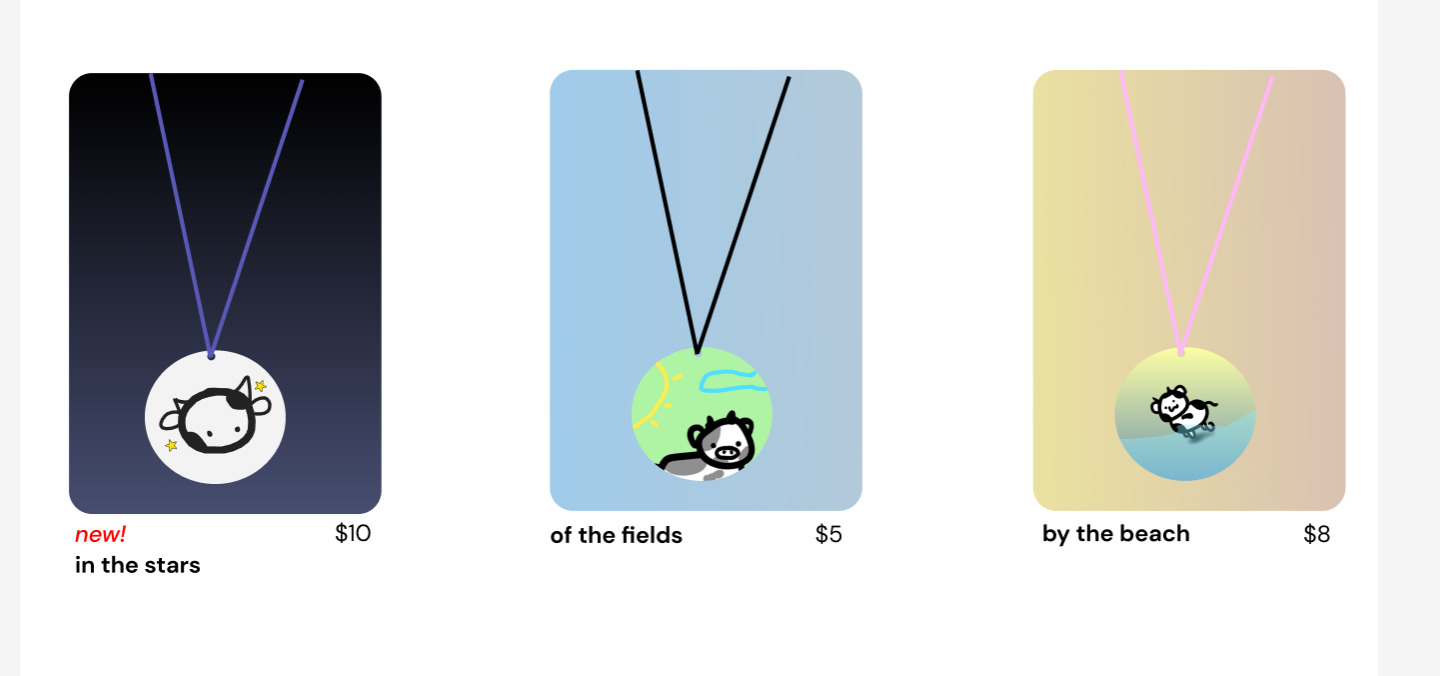
Now, we'll place in a product image (ill use the mockup we designed earlier).
 To make the background stars, I created 4 stars and dropped the opacity to ~60%
From here, I can add some text using the Text Tool (T), setting its fill color to whatever I want.
Awesome! I'll create a couple more to create a grid-like format.
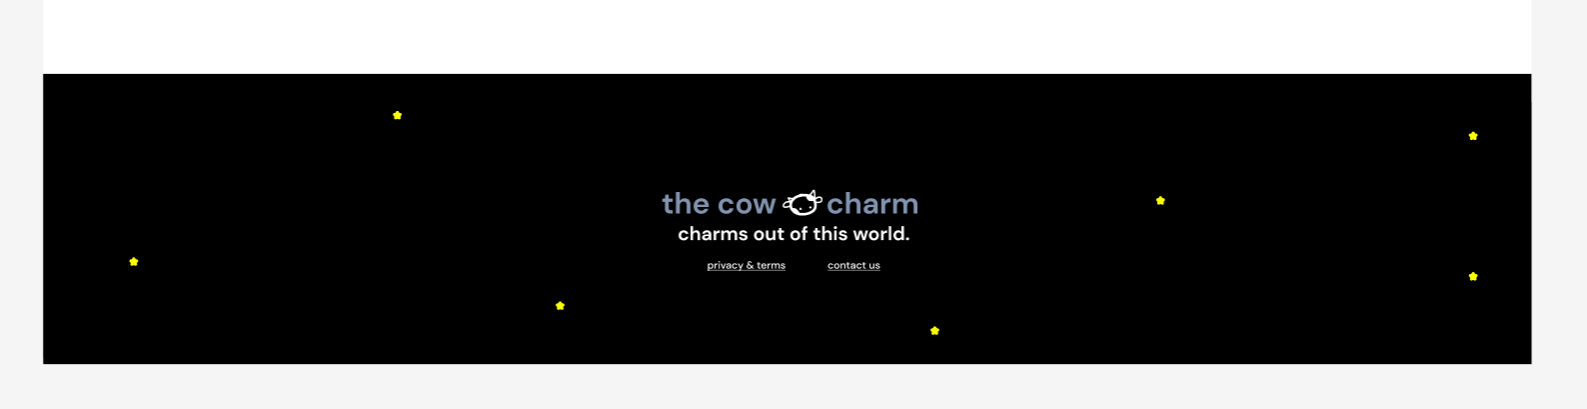
As you might have guessed, the footer will also be the same; we'll use a rectangle as a background:
Add in star shapes with the Star Tool and add our logo!

After that, it's up to us to add whatever information we think is necessary. I'll add a privacy & terms page and a contact us page :D
Try creating the Navbar by yourself :)
Looks like you've got the hang of it! Remember to look back at the tool cheat sheet from earlier and start to build out your store.
Here are the pages you should build out right now:
- Landing Page (add your own creative splash on this!)
- About Page
- Product Listing Page (can be on the landing page)
- Product Pages (for each one you sell)
To make these, you can create separate frames for each page.
Good luck hacker! We'll see you on the other side.
SO MANY DUPLICATES 😱
While you were designing your pages, you may have realized how many reused components are on each page. So, if you wanted to add an extra button or link, you had to go through every single page and edit it.
Fear not, Figma has a wonderful tool called: Assets!
These are layers that reference another layer instead of having its own value. If you are familiar with pointers and references, these are basically the same thing.
Layer

Asset

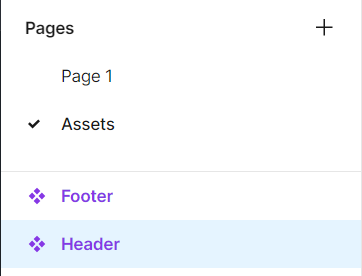
First, we'll create a new page so that we have our final prototype in one place. We can do this by expanding the "Page" icon on the left sidebar and clicking the '+' icon when it appears. Name this page Assets.
Now, we'll copy over the elements that we want to turn into components.
Now, select the entire asset, right-click, and select "Create Component"
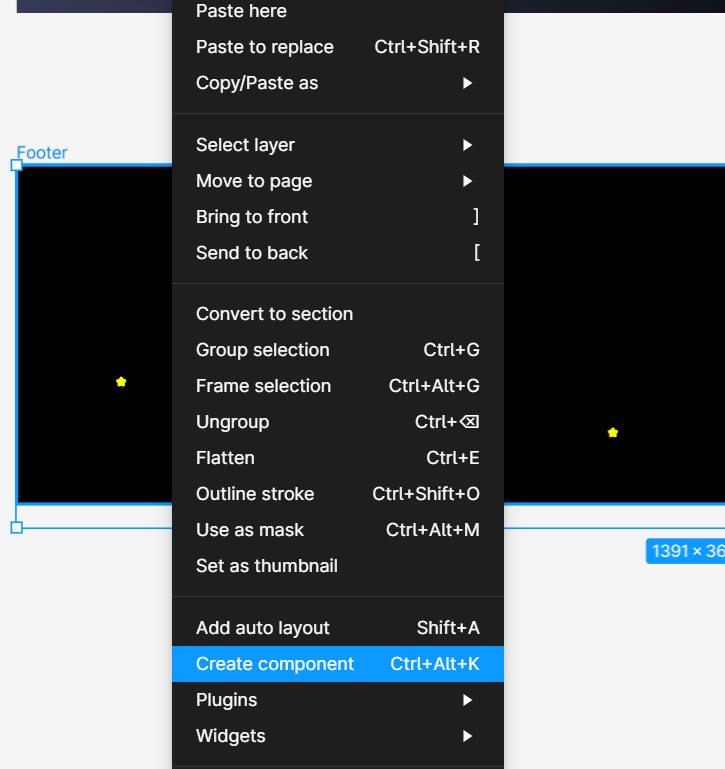
Do the same for every other asset you want to create. You'll know you've done it correctly if they appear purple in the left sidebar.
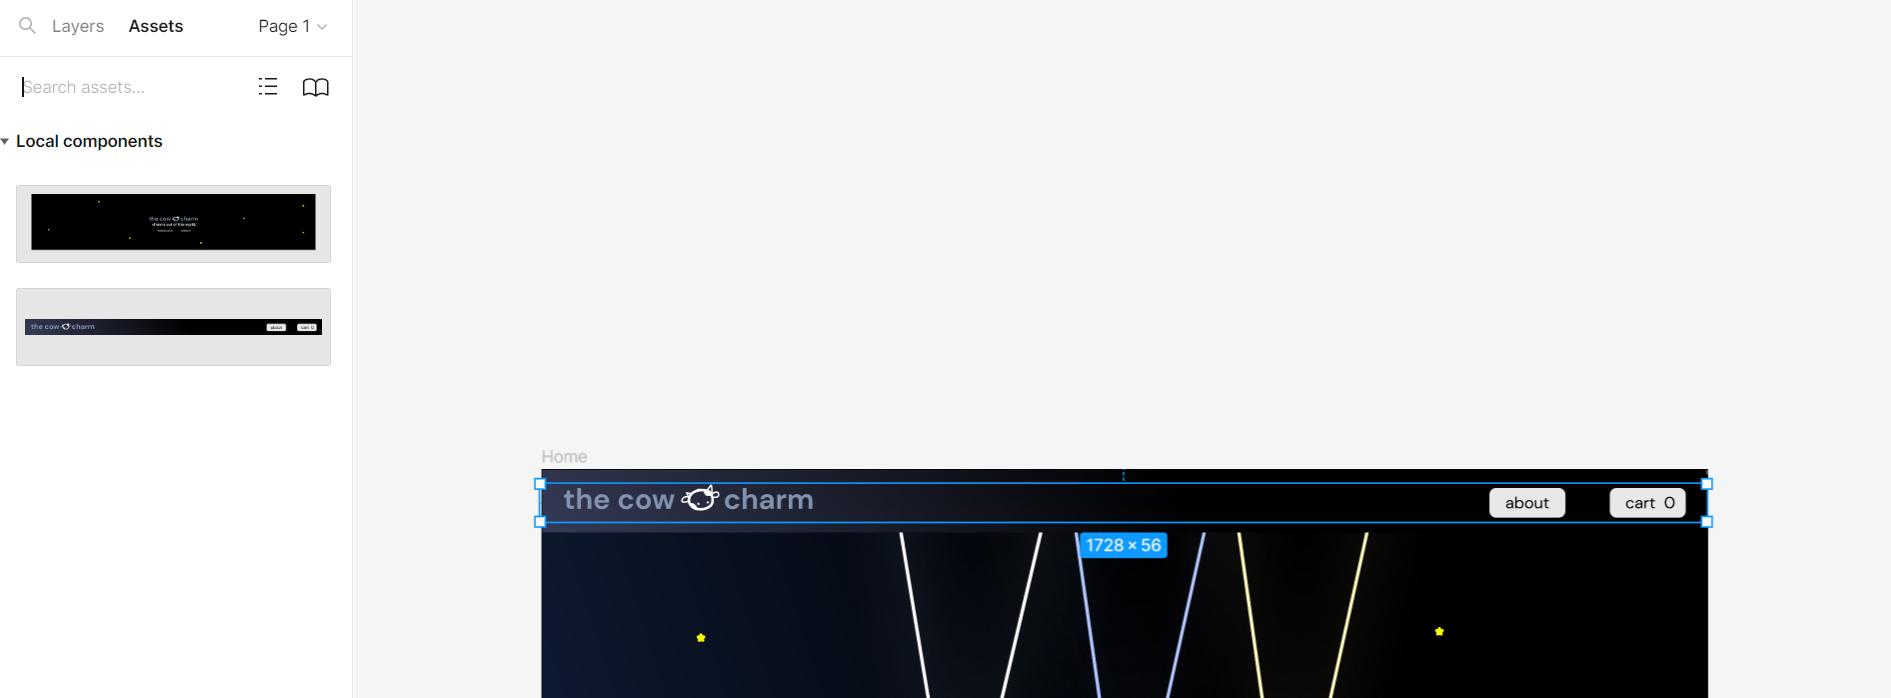
When you open the Assets tab in the left sidebar, you'll get the chance to drag it into your project!
You did it hacker!
Make it ✨ Magical ✨
Well, we have our pages, but it doesn't feel right. What's missing?
Right. It just feels like we're scrolling through images. Let's make this an actual prototype.
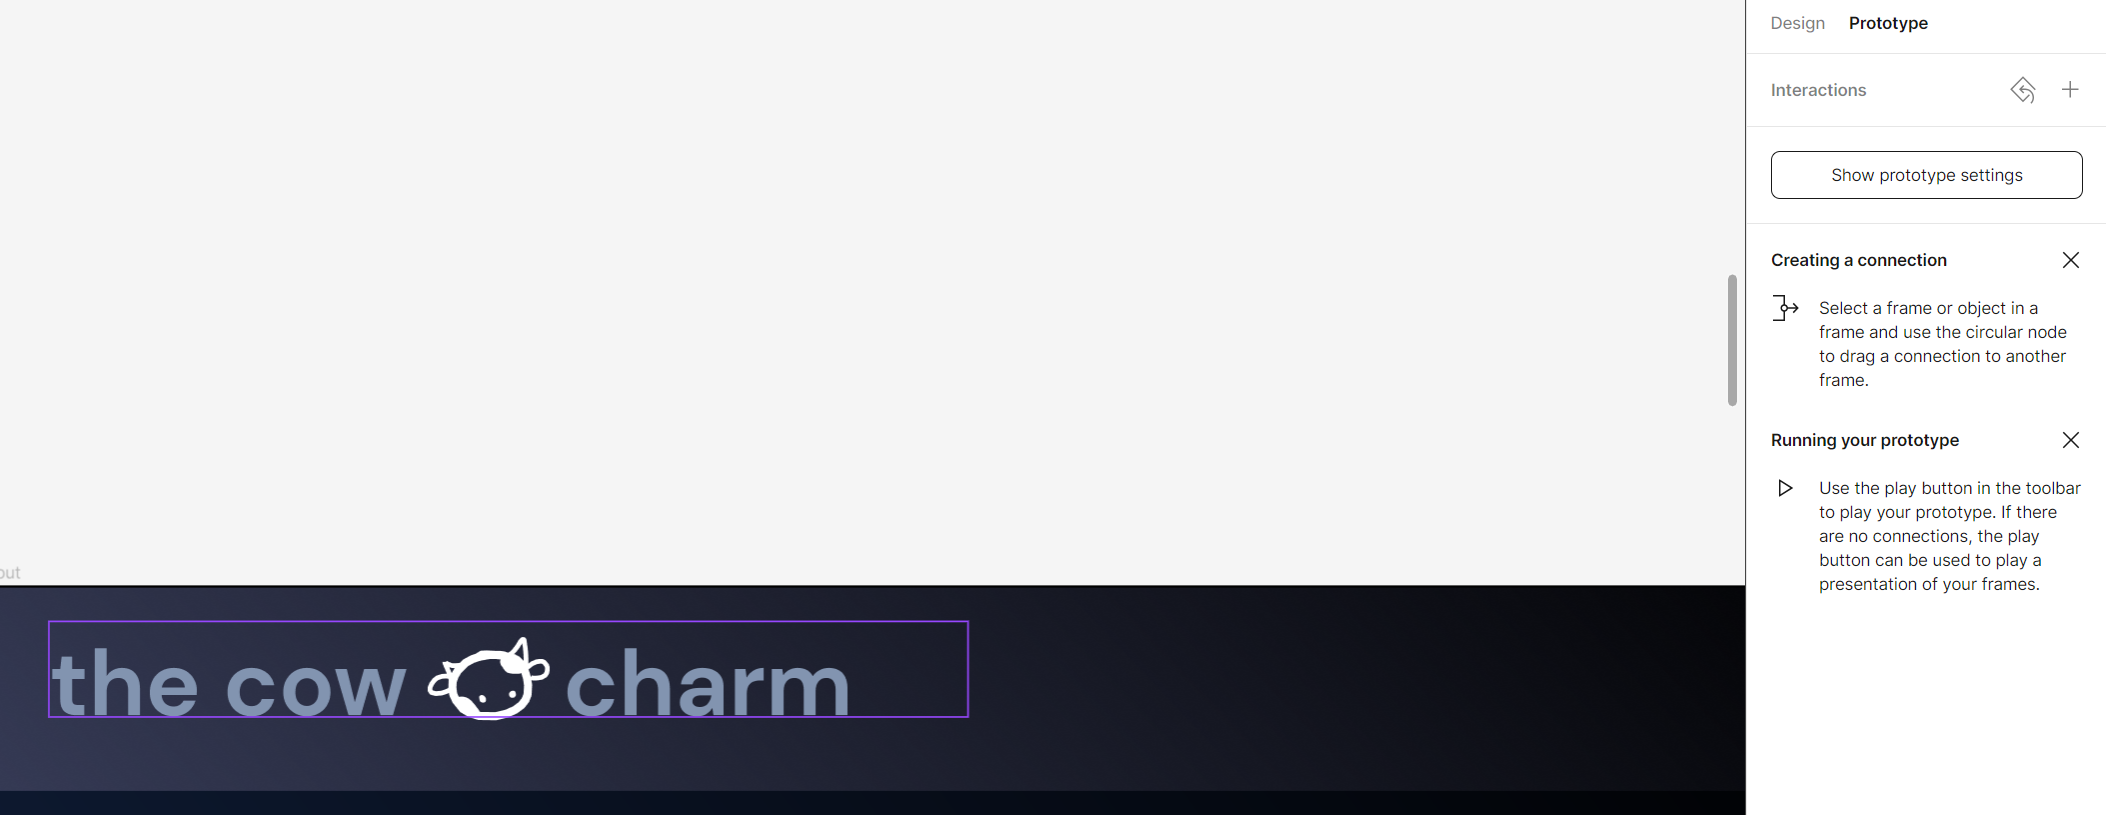
You might have noticed a Prototype tab in the right sidebar; this tab helps us make interactions by clicking different areas of the page.
For example, if we click an element on our About page, we'll get options to create an interaction.
Let's try that!

For now, we'll just use the On Click trigger with the Navigate to response. This gives us a list of frames in our project we can jump to:
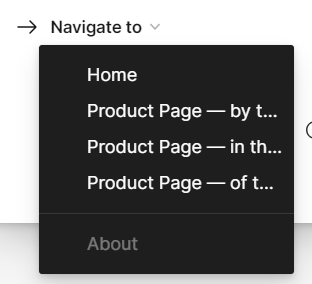
Select the one you want and customize the transition! p.s. for similar pages (such as your product page), it might be more intuitive for a "Smart Animate" transition.
For example, I set the transition between the home and about page to "Smart Animate", and this is the result:
Follow the same technique for every single clickable element!
Once you're finished, click the present icon on the top right corner (looks like a play button) and enjoy the show! Make sure you're on the final prototype page and not the assets page!
Splendid! Here are my interactions in my example design:

Hopefully, your design looks totally unique and different!
Get ready to pitch it to the hosts... 🍿
Up for a challenge?
There's a really awesome tool in your toolbar that I haven't mentioned.
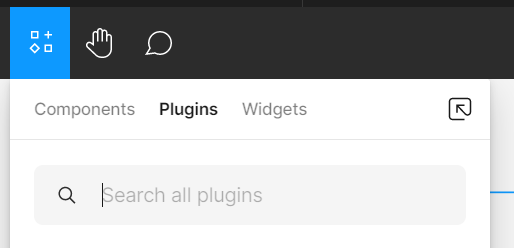
The Plugins tab :00
It's a community-run store with a lot of amazing pre-made components/tools to help with your Figma design.
Feel free to browse through and find something awesome for your design. One that I thought was really cool is called "MeshFlow Gradients".
Your next adventure.
You thought it was over? sorry
Onward to the next island! Here we'll learn how to integrate the Shopify API with Next.JS to make our site REAL!
Before you head over, you should implement your design in code! (preferably in Next.JS or similar).
Check out the jam "Wielding the Elemental Magic of the Web (not evil)" to figure out how to implement your design in HTML and CSS! Also, try enabling "Dev Mode" in Figma (a switch on the top right corner) to see property values in CSS and example code for some objects! If you have no idea what Next.JS is, I suggest you check out their Official Tutorial to get started.
It's been a blast jamming out with you! Catch you later :>
"Oh, Christmas Tree" Kevin MacLeod (incompetech.com) Licensed under Creative Commons: By Attribution 4.0 License http://creativecommons.org/licenses/by/4.0/
Congratulations! 🎉 🎉 🎉Share your final project with the community