Presentation
Video
Make Your Own Electronic Trash Out Of A Magical Hat
Intro
Appreciate the ends without understanding the means.
In this jam, you'll design a small trinket. Don't know what it is yet, but discovering it will be part of the activity.
Instead of "Learn to make a hacker card" or "Learn to make a digital level", we're going to make something perfectly useless!
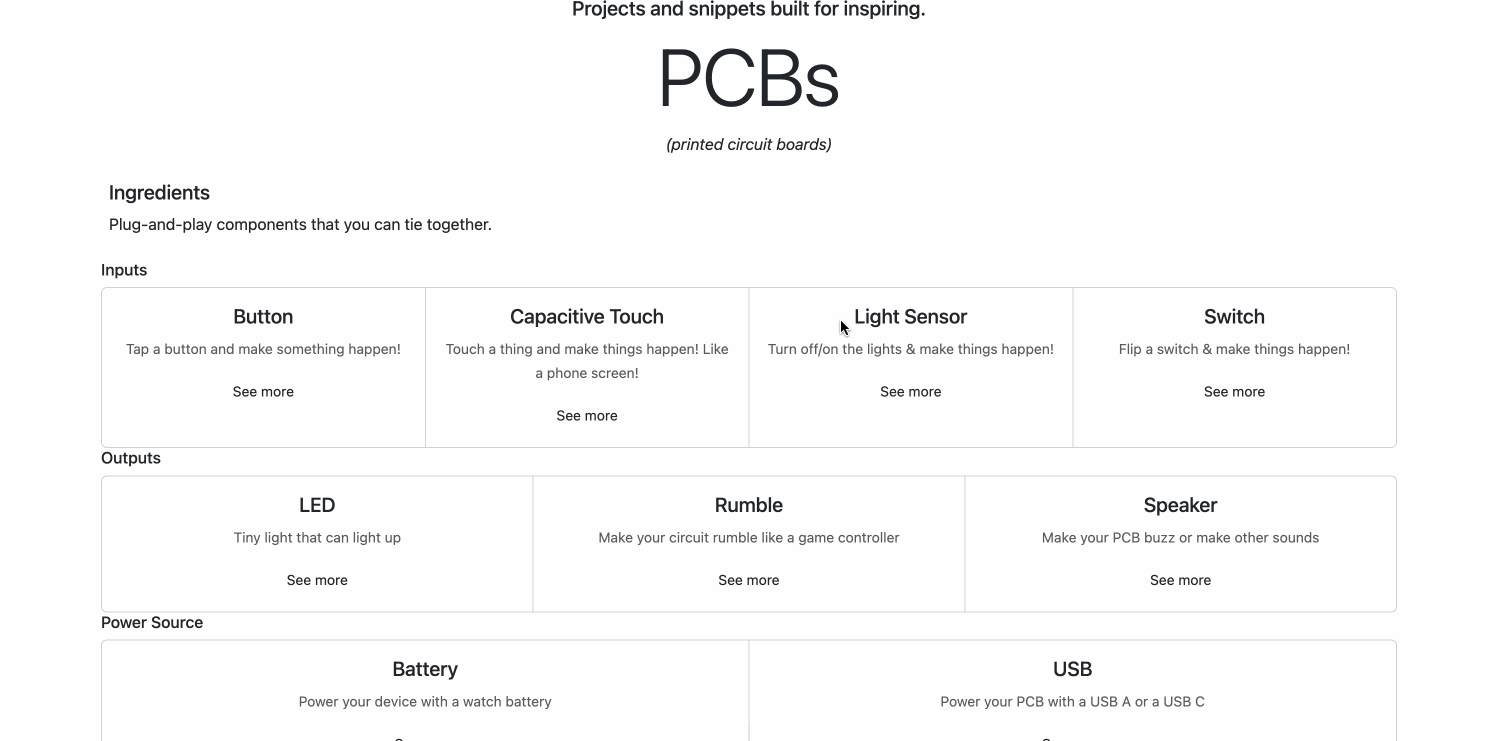
Random part picker!
You're going to go to this magical part picker site,
- First roll the dice get a random input, output, and power source.
- Come up with an idea that combines the components into a fun useless gadget.
- Draw some art to put on your board
Here's an example of what you might end up with (EXCEPT YOU'RE NOT GOING TO HAVE THIS SAME IDEA & THE SAME COMPONENTS):
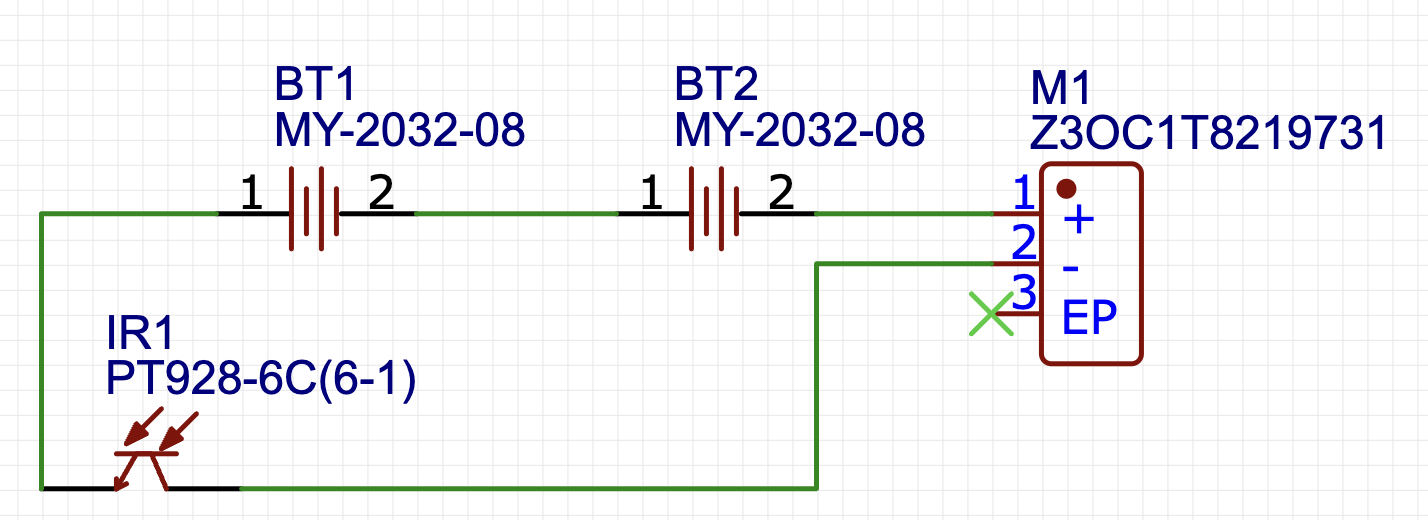
Combine a Light Sensor, Rumble Motor, and Battery to make a rattle snake that rumbles whenever you put it in the light.

No one has ever sat down to learn web dev & made the next facebook. Similarly, if you sit down thinking "I'm going to make something as helpful as an iPhone", you're destined for failure...
But sit down to make some trash, and you'll end up with this treasure:
Get In Your Workspace
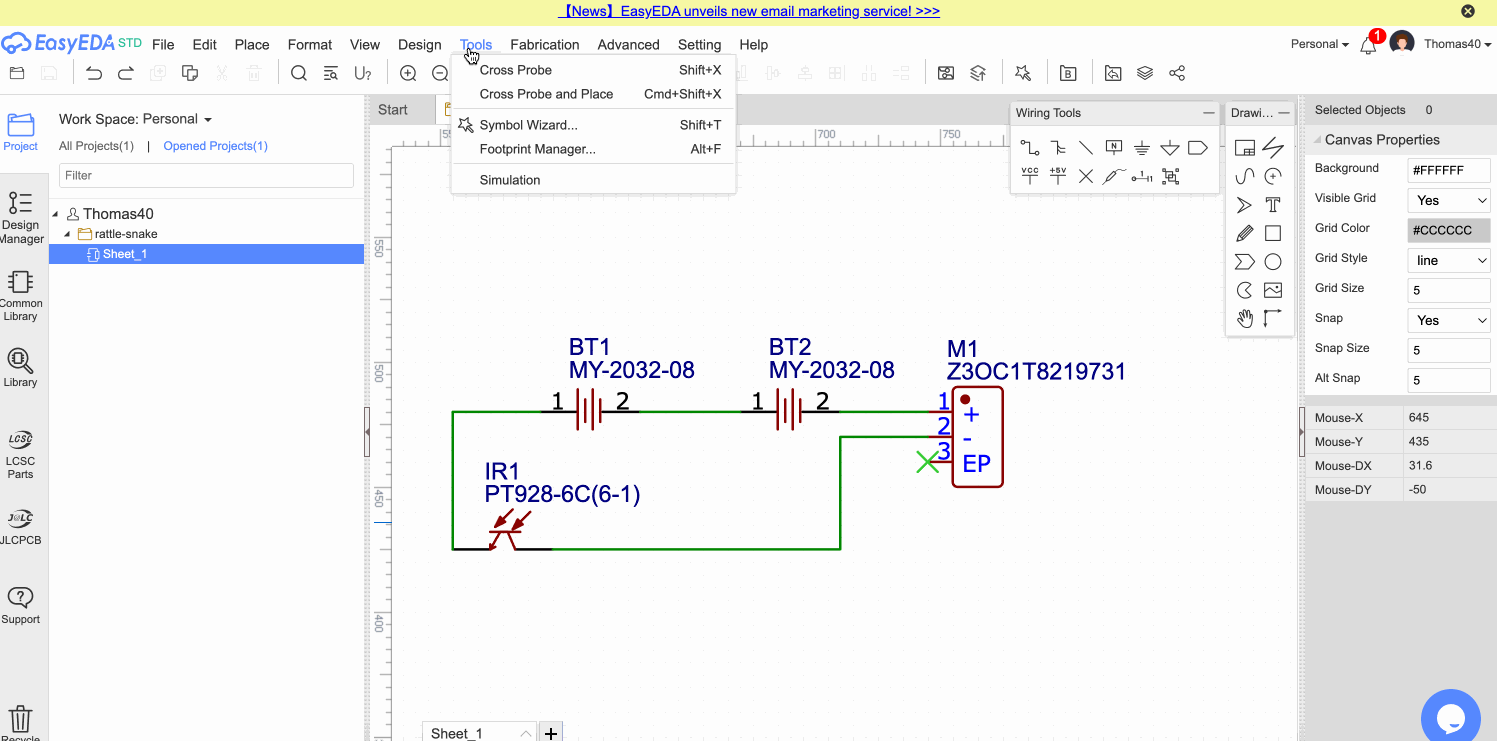
Now it's the time to open up good ol' easyeda
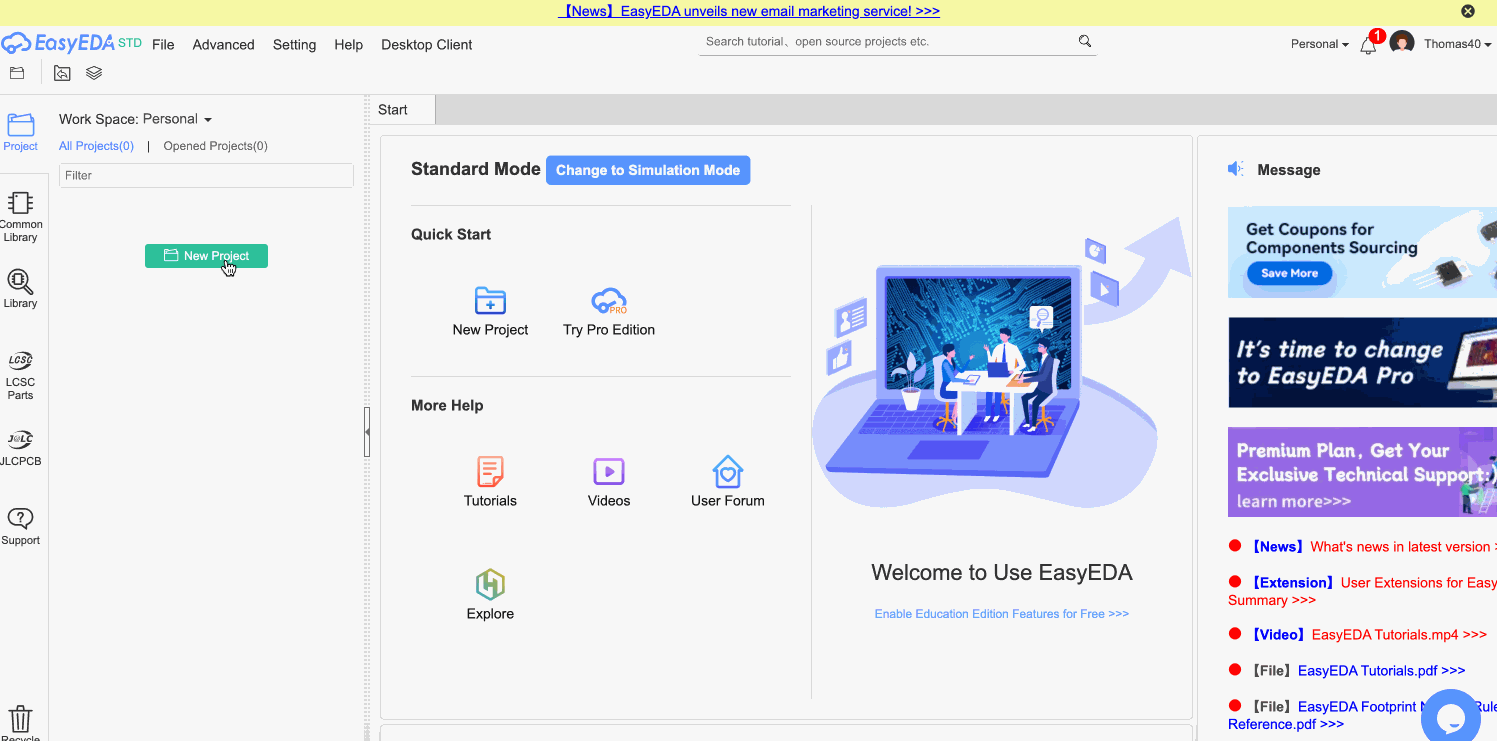
Step 1: create an account or login with google (tapping Register in the top right corner)

Step 2: Tap on Easy EDA Designer Open the "STD" (student) edition of EasyEDA
Step 3: Start A New Project
Add In Your Components
Add your components to the schematic zone (the non-creative zone).
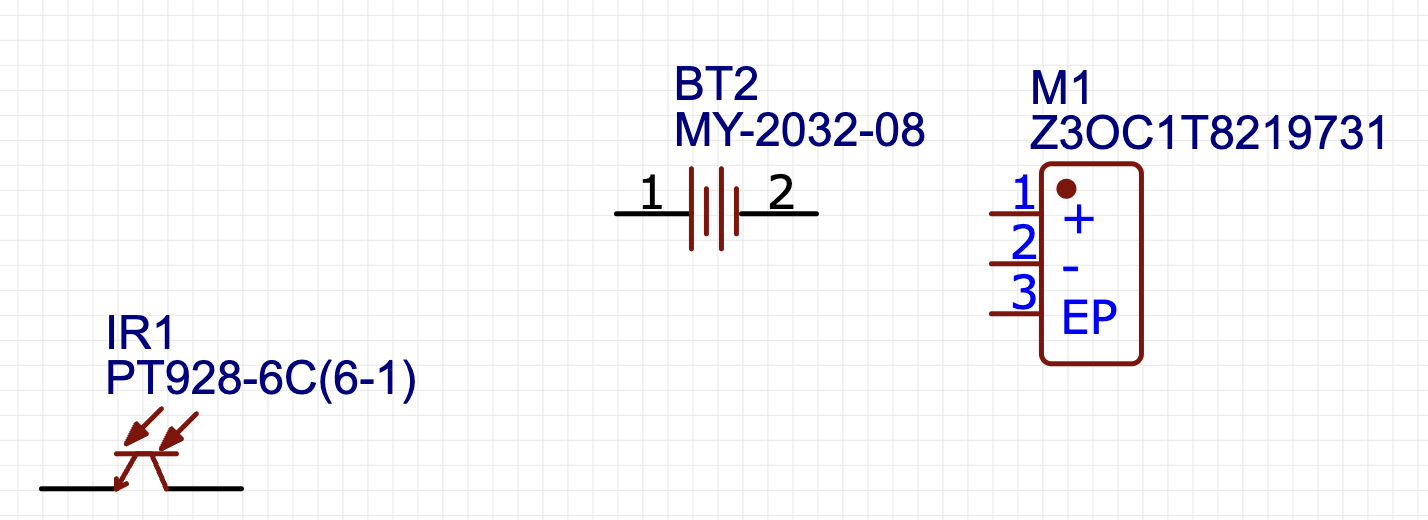
You can do this by pulling up this component library we made and then selecting the components you drew out of the hat.
Once you select a component
- Get the part number from the markdown
- Open up EasyEDA Library (on the side bar)
- Search for your component (tap search icon)
- Select your component and place it anywhere on your schematic
Repeat this step for all 3 of your components
Wire the components up
Look at the documentation for each component in the component library, and see how it is wired up. Follow the documentation examples to wire up your input, output, and power source.
Use R to rotate your elements and drag them around. Remember this is the NO CREATIVITY ZONE because your design will be totally moved around when you convert it to a PCB.
Convert to PCB
Save your design (control S or CMD S)
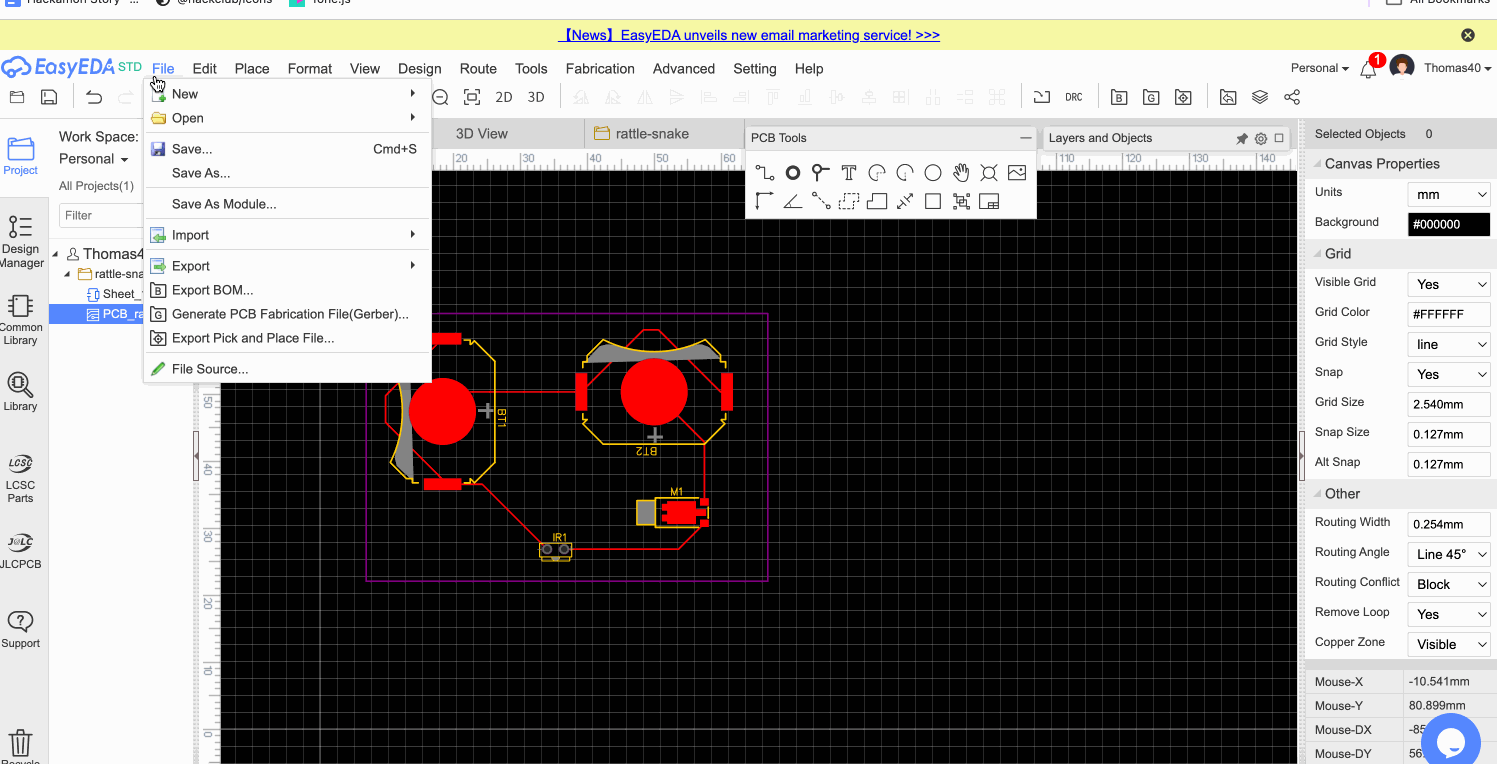
Tap Convert To PCB under Design -> "Convert To PCB"
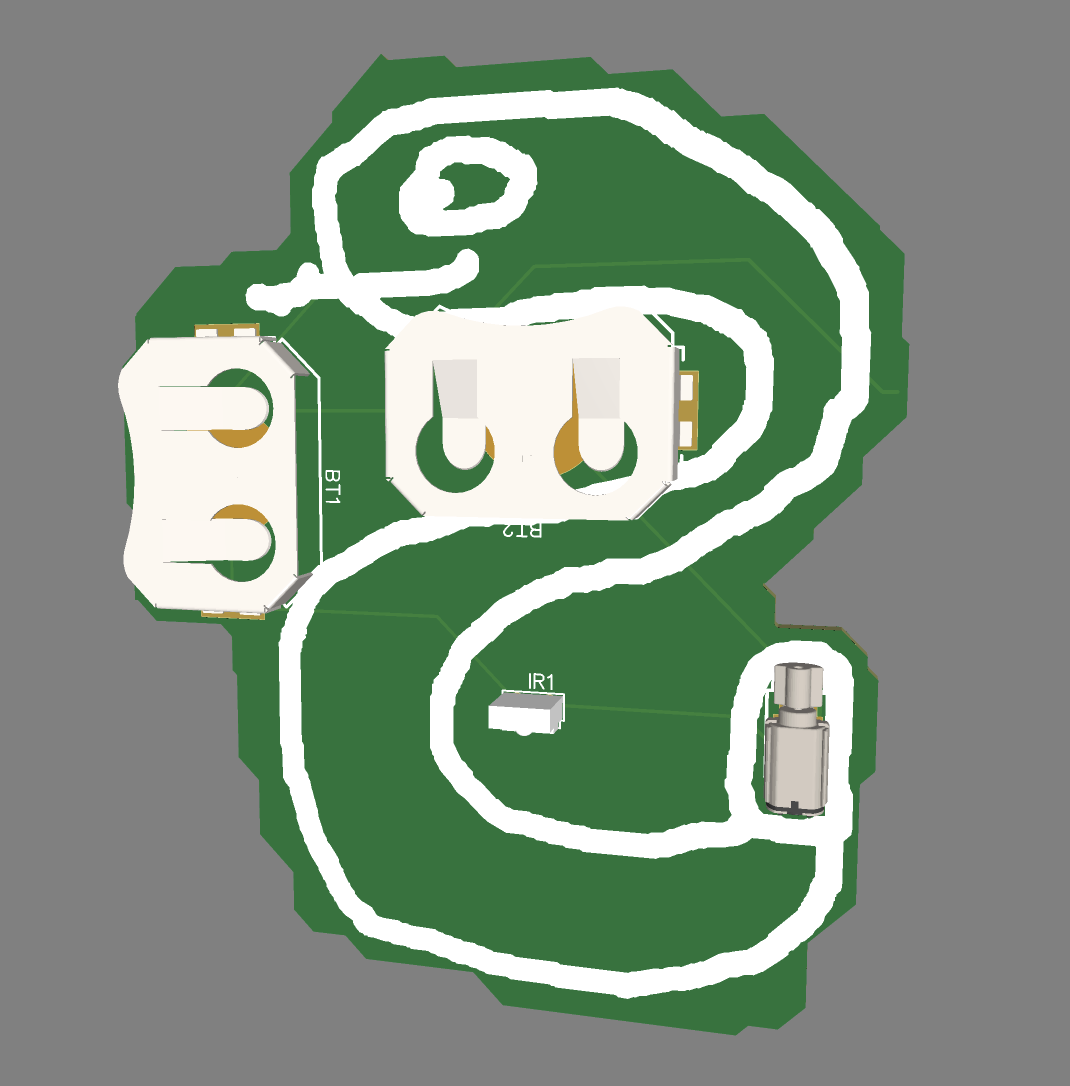
Rotate your components to minimize the rat lines (these subtle blue lines) crossing over each other. It's okay if it happens sometimes, but minimize the amount of times.
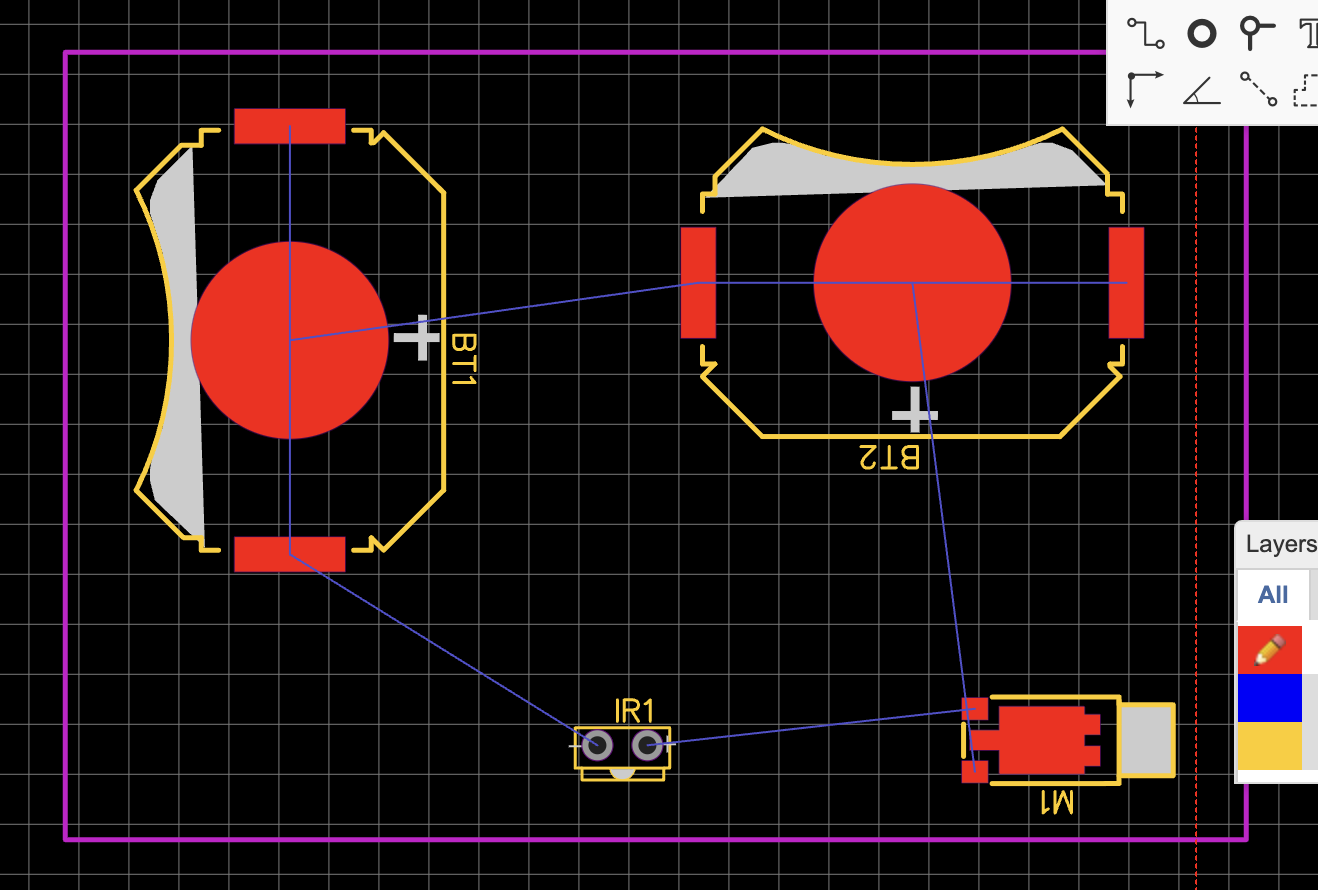
Then use the Track Tool (W) to begin connecting the rat lines

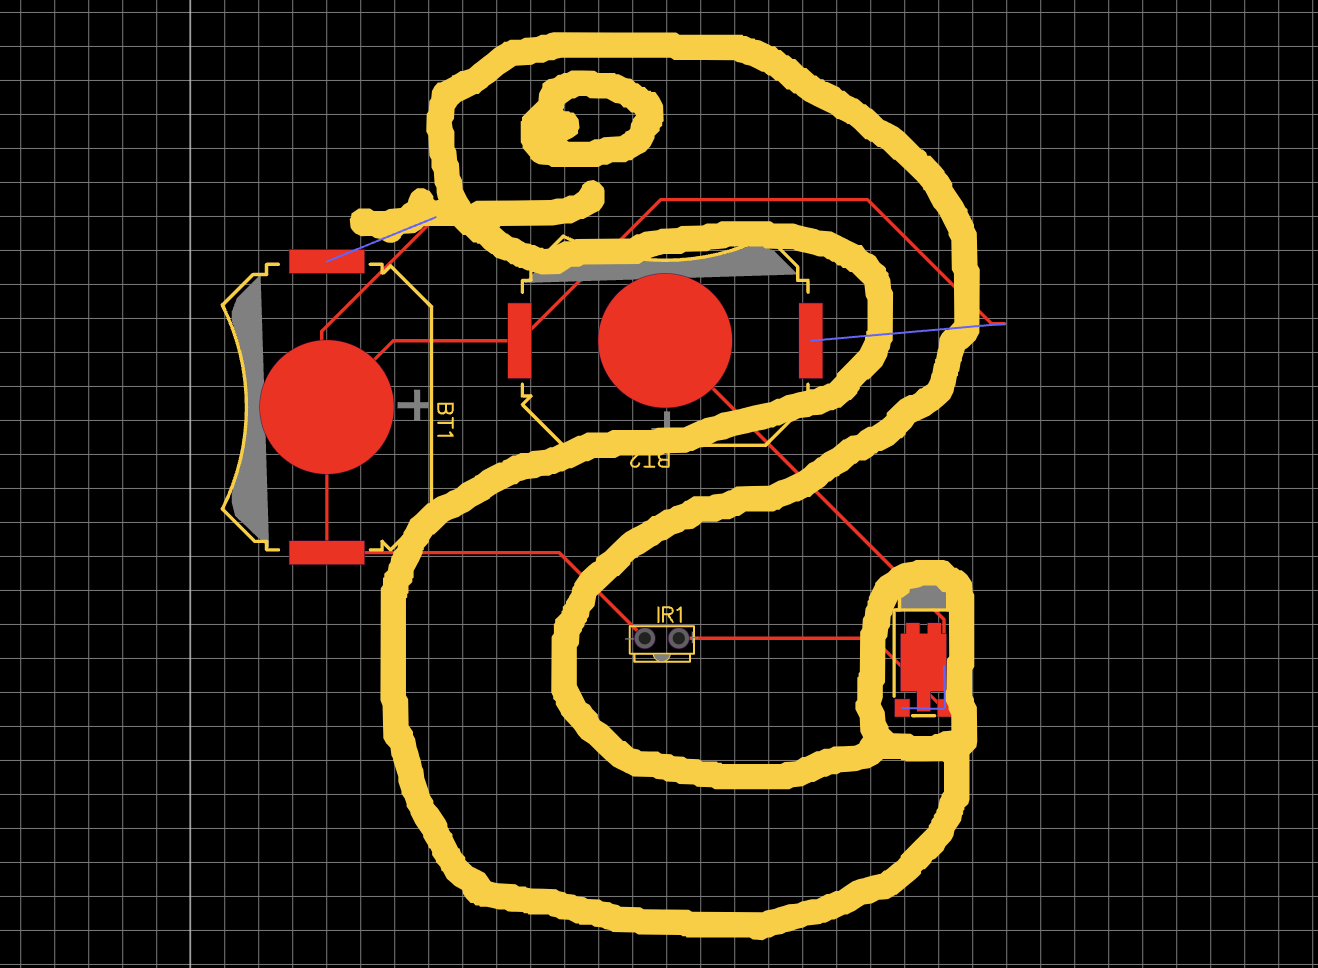
Getting Artistic
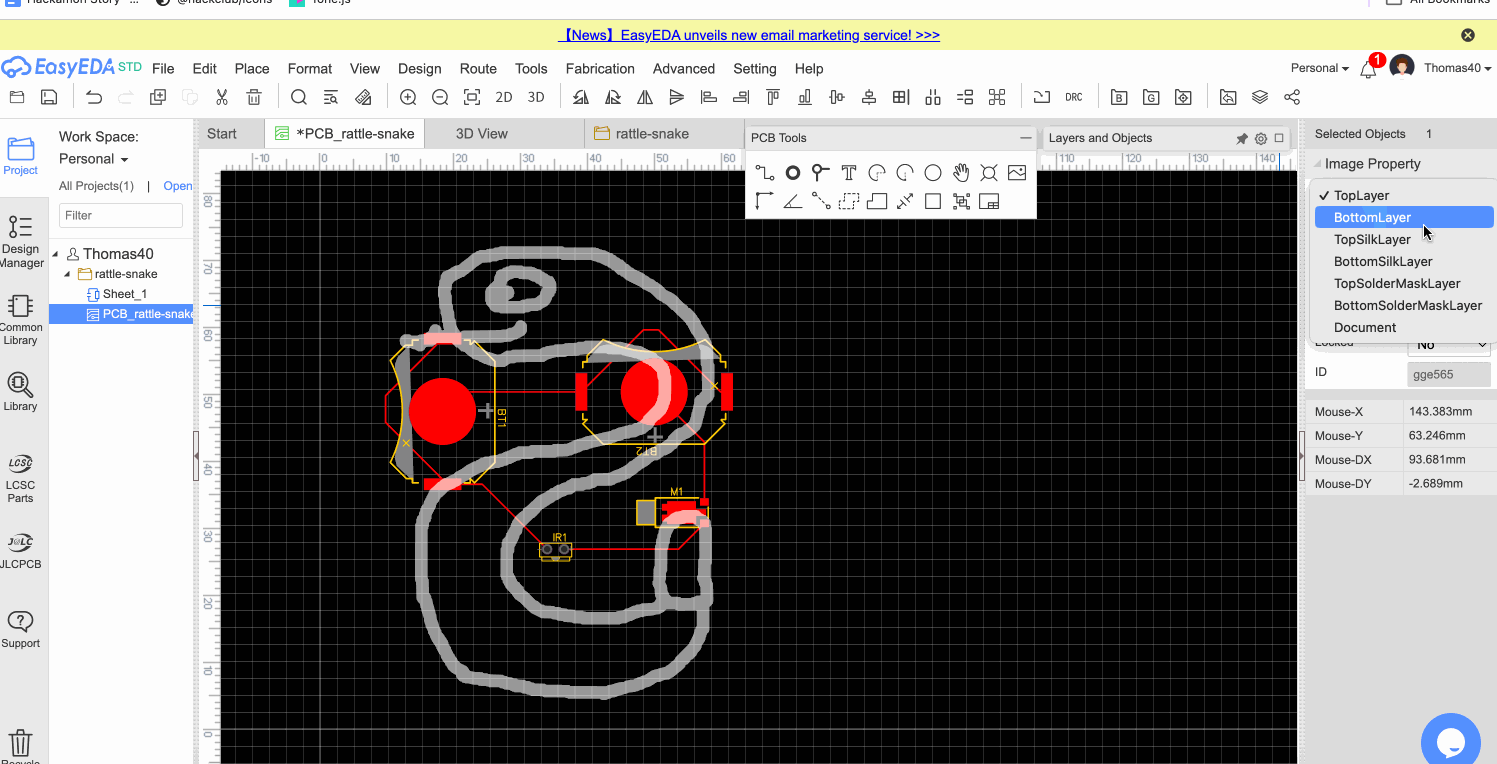
Now, throw your art into the schematic! This will be on a silk layer, so it will not impact your wiring.
You now need to make you art into a silk layer
Next, move your components to make them fit your design.
It's time to cut out your board!

Now you may have some loose wires or some rat lines that are not connected yet. Connect all of your loose wires to components and fix any of the yellow xs (that means your lines are crossing in a way that will cause a problem)
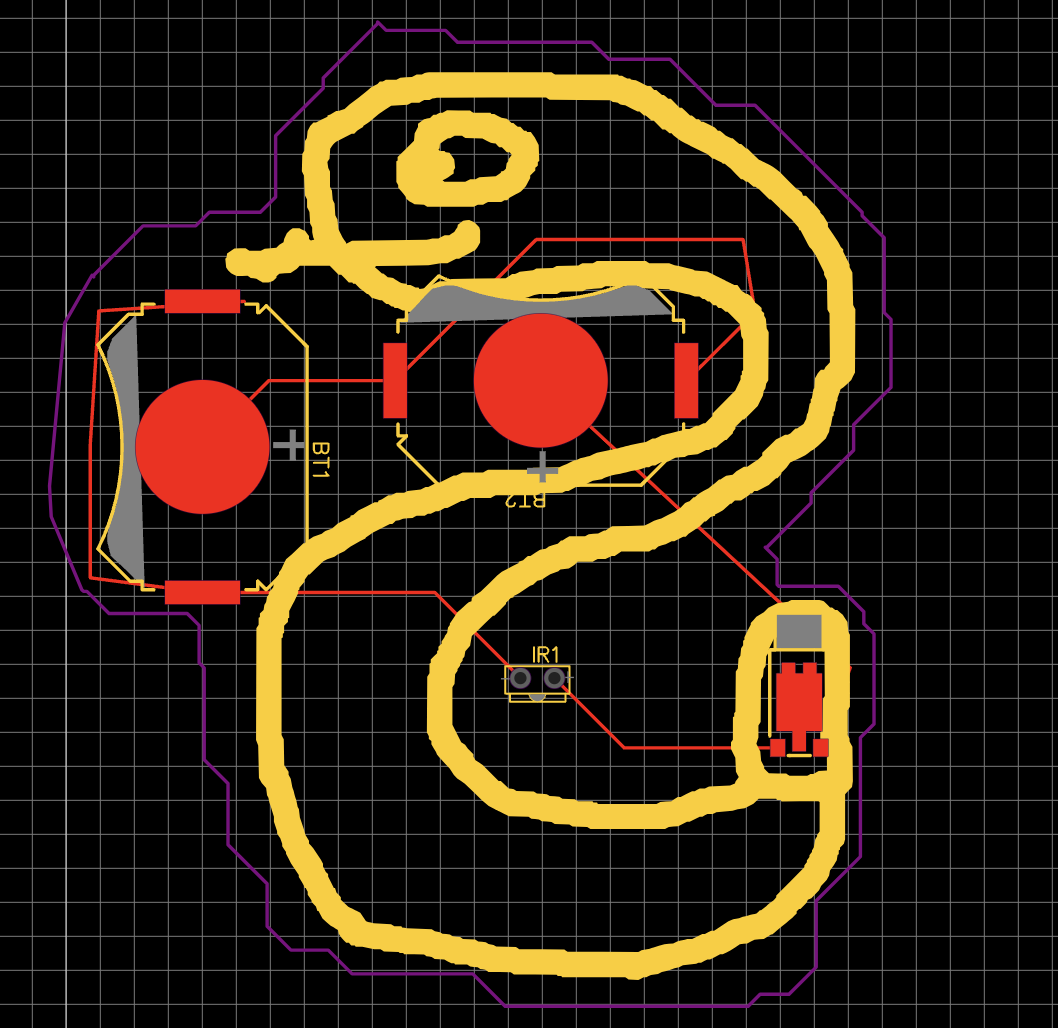
Boom... now you have a PCB!
You should now go & order this board!
Ready to buy?
You can get your board made for free with Hack Club's OnBoard project.
Check out the steps for getting your board for free here.
Congratulations! 🎉 🎉 🎉If you're a highschooler who enjoys programming or tinkering with hardware, make sure to join Hack Club, the world's largest nonprofit empowering teenagers to make cool projects! There's tons of programs where you can get prizes for programming, get your hardware projects fully funded and you can join the awesome community of 100k+ teenagers who love making cool stuff (just like you!).